
Ever scrolled through Pinterest, mesmerized by all those gorgeous, custom-printed fabrics and thought, "Could I *really* make that myself?" Trust me, I've been there! That yearning to bring a unique design to life on a soft, natural canvas is incredibly powerful. As someone who's spent countless hours (and a few frustrated moments, I won won't lie!) perfecting the art of printable cotton fabric, I can tell you: yes, you absolutely can. This isn't just about printing a picture; it's about transforming a blank slate into a personal masterpiece, whether it's for a cozy quilt, a custom tote bag, or an unforgettable handmade gift. I once used printable cotton fabric to create custom labels for a batch of homemade jams, and the look on my friend's face when she saw her name on the fabric was priceless. It’s that blend of creativity and tactile satisfaction that makes this journey so rewarding.
This comprehensive guide is designed to empower you, from the curious beginner taking their first step into the world of fabric printing to the seasoned crafter looking for advanced tips and troubleshooting solutions. We'll demystify the process, share hard-earned wisdom, and unlock the incredible potential of turning your digital dreams into beautiful, tangible textile art. Let's get printing!
---
1. Getting Started: What is Printable Cotton Fabric & Why You Need It
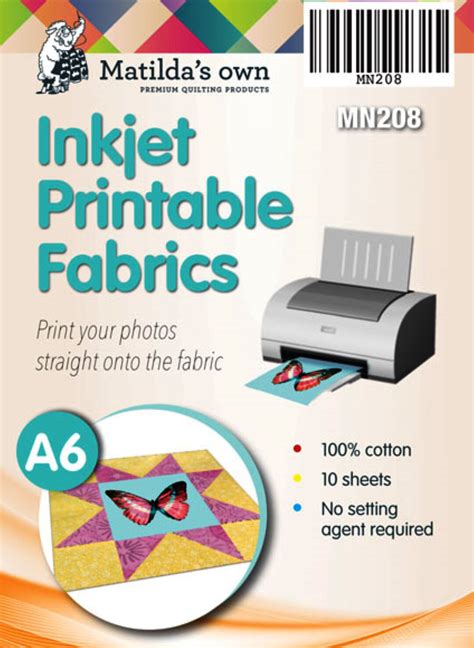
If you’re new to the world of textile crafts, "printable cotton fabric" might sound a bit like magic. But it's very real, and incredibly versatile! Essentially, these are sheets of specially treated cotton fabric that you can feed directly into your home inkjet printer, just like paper. The magic lies in the coating that allows the ink to adhere, dry quickly, and often become permanent and washable.
Why embrace printable cotton fabric?
- Unleash Customization: Print family photos, your own artwork, unique patterns, or custom labels. The possibilities for personalization are endless.
- Cost-Effective: For small projects or prototypes, it’s far more economical than ordering custom fabric from a print shop.
- Convenience: Print exactly what you need, when you need it, right from your home or studio. No minimum orders, no waiting.
- Natural Feel: Unlike iron-on transfers, you're printing directly onto the soft, breathable cotton, maintaining its natural feel and drape. This is my favorite aspect; the final product truly feels like fabric, not a stiff appliqué.
- Creative Freedom: Experiment with designs without a huge commitment. Think of it as your personal fabric lab!
2. Choosing Your Canvas: Types of Printable Cotton Fabric
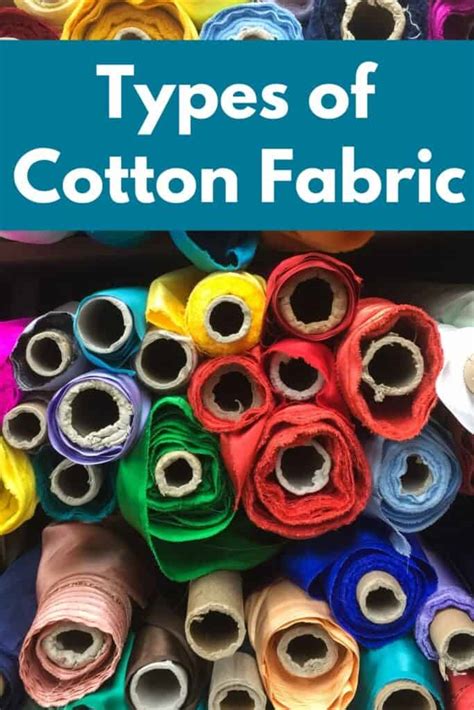
Not all printable cotton fabric is created equal. Understanding the different types available will help you select the best option for your project and avoid common pitfalls.
- Pre-Treated Cotton Sheets: These are the most common and user-friendly. They come ready to use, often with a paper backing that stabilizes them for printing.
- *Tip:* Look for brands like June Tailor, Jacquard, or Spoonflower's pre-treated options. Some come in specific weaves (e.g., poplin, broadcloth).
- *Scenario:* "I used pre-treated sheets for my first ever photo quilt, and the results were so vibrant and clear, it really boosted my confidence!"
- Printable Cotton Canvas: A thicker, more durable option, great for bags, upholstery, or even canvas art prints.
- *Consideration:* May require slightly different printer settings due to its thickness.
- Printable Cotton Sateen/Poplin: Offers a smoother surface with a slight sheen, excellent for detailed photographic prints or luxurious projects.
- *Application:* Perfect for decorative pillows or apparel accents where a refined look is desired.
- Make Your Own (with Fabric Medium): For the truly adventurous, you can treat your own cotton fabric with a special fabric medium (like Ink Aid) to make it printable.
- *Process:* Requires coating, drying, and ironing the fabric before printing. More involved, but offers ultimate control over fabric type.
- *Hard-Earned Lesson:* "I learned the hard way that an even coat of fabric medium is *crucial*. Streaks mean uneven ink absorption!"
- Washable vs. Non-Washable: Always check the product description! Most quality printable cotton fabrics are designed to be washable after setting the ink, but some craft-grade options might not be.
- *Warning:* Don't assume. Always check.
- Sheet Size: Available in various sizes, typically 8.5" x 11" (letter) or 8.5" x 14" (legal), sometimes larger.
3. Printing Perfection: Tips for Flawless Results

Achieving crisp, vibrant prints on your printable cotton fabric is more about preparation and settings than magic.
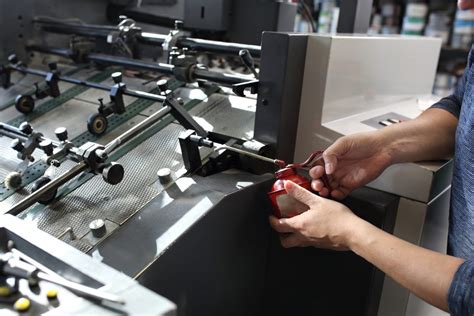
- Choose the Right Printer: An inkjet printer is essential. Laser printers use toner, which won't bond with the fabric correctly.
- *Pro Tip:* A printer with a straight paper path (minimal bending) is ideal, especially for thicker fabric sheets.
- High-Quality Image: Start with a high-resolution image. Pixelated images on screen will look even worse on fabric. Aim for at least 300 DPI (dots per inch).
- Printer Settings are Key:
- Media Type: Select "Photo Paper," "Glossy Paper," or "Specialty Paper" for best ink saturation and resolution.
- Print Quality: Choose "Best" or "Highest" quality.
- Paper Size: Ensure it matches your fabric sheet size.
- *Scenario:* "I almost ruined a batch of custom fabric tags because I forgot to change the print quality from 'Draft.' The colors were so dull!"
- Test Prints: Always do a test print on plain paper first to check color accuracy, sizing, and layout. Then, if you have extra fabric, do a small test print on a scrap.
- Handle with Care: The fabric sheets can be delicate. Handle edges carefully to avoid creasing or smudging the coated surface before printing.
- Clean Your Printer: Dust and lint inside your printer can cause lines or smudges. Run a cleaning cycle before a big project.
- Let It Dry (and Set!): After printing, let the ink dry completely (often 24 hours) before handling or setting. Many brands require heat-setting with an iron to make the print permanent and washable. Follow the manufacturer's instructions precisely!
4. Project Inspiration: Creative Uses for Your Prints

Once you've mastered the printing, the fun truly begins! Printable cotton fabric opens up a world of DIY possibilities.
- Memory Quilts & Photo Albums: Print cherished photos directly onto fabric squares for unique, soft keepsakes.
- *Example:* Creating a "story quilt" with photos from different family trips, sewing them into a narrative.
- Personalized Bags & Totes: Design custom logos, quotes, or artwork for unique shopping bags, clutches, or pouches.
- *Idea:* A reusable grocery bag featuring your favorite produce illustrations.
- Custom Labels & Tags: Print care instructions, brand logos, or personalized gift tags for handmade items.
- *Application:* "I always print my clothing labels on fabric now – it looks so much more professional than paper!"
- Appliqué & Embellishments: Print small designs, cut them out, and appliqué them onto clothing, home decor, or other fabric projects.
- *Technique:* Use a fusible web backing for easy iron-on appliqué.
- Doll Making & Soft Toys: Create unique facial features, clothing patterns, or even entire character designs for fabric dolls.
- Art Quilts & Mixed Media: Incorporate photographic elements or intricate printed textures into your fiber art pieces.
- *Inspiration:* Experimenting with abstract designs and text to add depth to your textile art.
- Decorate Home Textiles: Custom pillow covers, tea towels, placemats, or even lampshades can be easily personalized.
- *Scenario:* I made a set of throw pillows with custom prints of my pet's silly faces – everyone loves them!
5. Care & Longevity: Making Your Prints Last
You’ve put so much effort into your printable cotton fabric masterpiece, now let's make sure it stands the test of time!
- Follow Manufacturer Instructions: This is paramount! Each brand might have specific heat-setting, washing, or drying instructions.
- Heat Setting is Crucial: For washable prints, heat setting is often required. Use a dry iron on the recommended temperature (usually cotton setting), pressing for the specified time (e.g., 30-60 seconds) on each section.
- *Warning:* Don't use steam during heat setting, it can reactivate the ink before it's set.
- First Wash Separately: Wash your printed fabric alone or with similar colors for the first wash, especially if it's a very dark or vibrant print, to check for any slight bleeding.
- Gentle Washing: Machine wash cold on a delicate cycle. Hand washing is even better for very precious items.
- Mild Detergent: Avoid harsh detergents, bleach, or fabric softeners, as these can degrade the print over time.
- Air Dry or Low Heat: Line drying is ideal. If using a dryer, tumble dry on low heat. High heat can sometimes fade or damage prints.
- Iron on Reverse: If ironing is needed after washing, iron on the reverse side of the fabric to protect the print.
6. Common Pitfalls: What to AVOID When Working with Printable Cotton Fabric

Even with the best intentions, things can go awry. Learning from common mistakes will save you time and tears.
- Don't Rush the Drying/Setting: Skipping or rushing the drying and heat-setting steps is the quickest way to end up with a faded, bleeding mess after washing.
- *Humorous Example:* "Don't be like me and think a quick blast with the iron is 'good enough.' It's not. Trust the instructions, or face the wash cycle of doom!"
- Forgetting to Test Print: Never print directly onto your precious fabric sheet without a test print on paper first. It saves expensive mistakes.
- Using a Laser Printer: This is a big no-no. Inkjet only! Toner from a laser printer won't penetrate the fabric fibers and will flake off.
- Ignoring Printer Settings: Printing on "Normal" or "Draft" quality will result in dull, streaky images. Always use the "Best" photo settings.
- Rough Handling: Creasing the fabric sheet before printing can cause ink smudges or feed errors in your printer.
- Washing Before Setting: Unless the product specifically states otherwise, never wash your printed fabric before the ink has fully dried and been heat-set.
- Not Calibrating Your Monitor/Printer: Colors on your screen might not exactly match what prints. A quick test print helps you adjust.
7. Beyond the Basics: Advanced Tips & Tricks

Ready to take your printable cotton fabric game to the next level? Here are a few expert insights.
- Utilize Photo Editing Software: Before printing, use software like Photoshop or GIMP to optimize your images. Adjust brightness, contrast, and color balance for vibrant results on fabric.
- *Expert Tip:* Convert images to CMYK if your printer supports it, as fabric printing is subtractive color.
- Consider Mirrored Images: For some transfer methods (though less common with direct printable fabric), you might need to mirror your image. Always check the specific product's instructions.
- Experiment with Fabric Mediums: If you want to print on a specific cotton not sold as "printable," explore fabric mediums that allow you to prepare your own. This opens up even more textile options!
- Sublimation Printing (for Polyester Blends): While this article focuses on cotton, if you're interested in truly vibrant, long-lasting prints, explore sublimation printing, which works best on polyester or high-polyester blends. It's a different beast entirely but worth researching if you expand your scope.
- Digital Seamless Patterns: Design your own seamless patterns in editing software to create continuous fabric designs that tile perfectly. This is how you can make your own unique bolt of fabric, piece by piece!
- Troubleshooting Color Shifts: If your prints consistently come out a different color than expected, your printer's color calibration might be off. Consult your printer's manual or online support for calibration options.
---
Ready, Set, Print!
There you have it – your comprehensive guide to unlocking the incredible world of printable cotton fabric. From understanding the basics and choosing the right material to mastering your printer settings and creating stunning projects, you now have the knowledge to transform your creative visions into beautiful, tangible textile art. Remember, practice makes perfect, and every project is a chance to learn and grow.
So, gather your supplies, fire up your printer, and let your imagination soar. Go ahead, create those custom gifts, personalize your home, or stitch together that memory quilt you've always dreamed of. Now go make something beautiful – the fabric is your canvas!