Remember that incredible vacation photo, the heartwarming family portrait, or even that hilarious candid shot that deserves to live beyond your phone screen? There's a unique magic to holding a physical photograph, feeling its texture, and displaying it proudly. But if you've ever tried printing at home and ended up with dull, streaky, or quickly fading images, you know the frustration. Trust me, I've been there – printing a beautiful landscape shot only to have it look like a faded watercolor painting moments later. That's why understanding printable photo paper isn't just about technical specs; it's about preserving moments, sparking joy, and getting it right the first time.
This isn't just a guide; it's your friendly deep dive into the world of photo paper, ensuring your printed memories are as vibrant and long-lasting as the moments they capture. We'll explore everything from the glossy sheen to archival durability, helping you choose the perfect paper for every project, whether you're a seasoned DIYer or just starting your home printing journey. Get ready to transform your digital snaps into tangible treasures!
---
The Everyday Enthusiast's Pick: Glossy & Semi-Gloss Photo Paper
For most casual prints, vibrant colors, and that classic "photo album" feel, glossy and semi-gloss (often called lustre or satin) printable photo paper are your go-to choices. They offer fantastic color reproduction and sharpness.
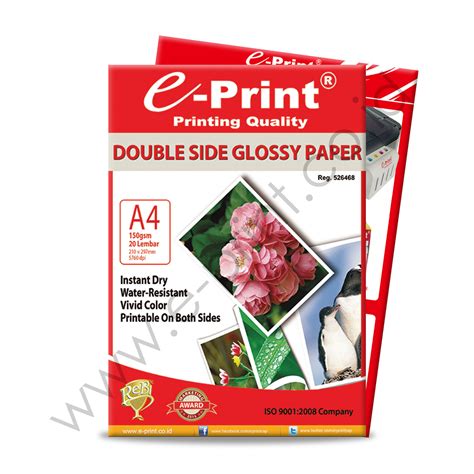
- Glossy Perfection: This paper delivers incredibly vibrant colors and a high-shine finish, making images pop. It's fantastic for general photos, bright landscapes, and anything you want to show off with maximum visual impact. Be aware, though, it's prone to fingerprints and glare.
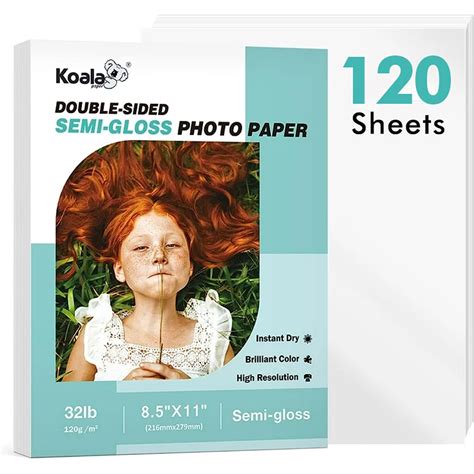
- Semi-Gloss/Lustre/Satin: The Best of Both Worlds: This finish offers the vibrancy of glossy but with a subtle texture that reduces glare and fingerprints. It’s my personal favorite for framed photos and portraits, as it gives a professional look without too much reflection.
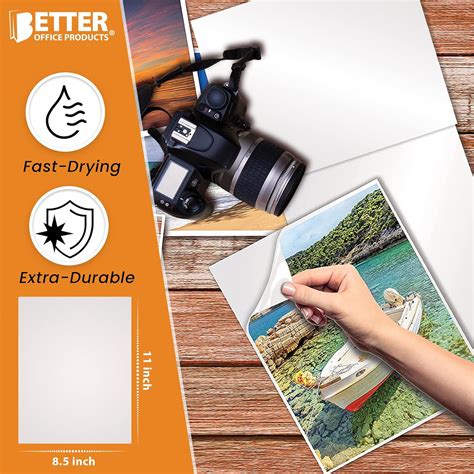
- Quick Dry Technology: Look for papers boasting instant-dry or quick-dry surfaces to prevent smudging right out of the printer. I learned this the hard way with a crucial family photo – smudge city!
- GSM (Grams Per Square Meter) Matters: For a substantial feel, aim for paper weights of 200 GSM or higher. Thinner papers can feel flimsy.
- Printer Compatibility: Always double-check that your chosen paper is compatible with your inkjet or laser printer. Most printable photo paper is designed for inkjet.
- Cost-Effectiveness for Bulk Prints: If you're churning out a lot of vacation snaps, finding a good value pack of semi-gloss paper can save you a bundle.
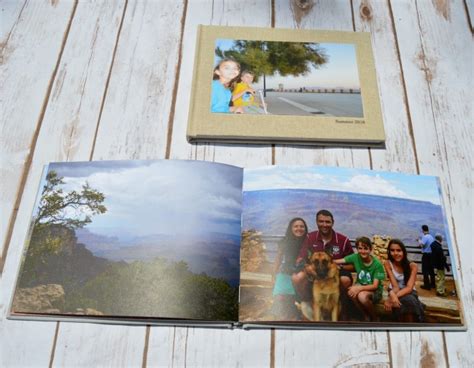
- Everyday Use: Perfect for scrapbooking, photo albums, and sharing prints with friends and family.
---
For the Artistic Soul: Matte & Fine Art Photo Paper
When you want a sophisticated, non-reflective finish or are printing art reproductions, matte and fine art papers are unparalleled. They offer a muted elegance that's truly unique.
- Matte Magic: This paper has a smooth, non-glossy surface that's perfect for black and white photography, less vibrant scenes, or artwork where reflections would detract. Colors appear softer, with a rich, velvety feel.
- Fine Art Papers (Cotton, Baryta, etc.): These are premium, often heavier papers designed for archival quality and museum-grade prints. They can have a textured feel, adding depth and character. They're typically acid-free for longevity.
- Reduced Glare: The primary advantage of matte finishes is the complete absence of glare, making them ideal for display under various lighting conditions.
- Elegance in Simplicity: Matte paper gives a refined, understated look that professionals often prefer for gallery prints. I once printed a series of nature shots on matte paper for a local exhibition, and the subtle textures really shone through.
- Ink Absorption: Matte papers tend to absorb more ink than glossy, which can sometimes lead to slightly less vibrant colors if not properly calibrated, but also deeper blacks.
- Framing Friendliness: Matte prints are incredibly forgiving when framed under glass, as there are no reflections to contend with.
- Creative Applications: Excellent for custom greeting cards, invitations, and artistic prints you want to give a high-end feel.
---
The Sticky & Creative Kind: Self-Adhesive Photo Paper
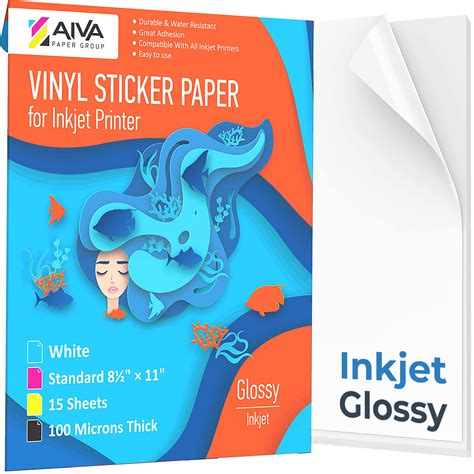
Want to turn your photos into stickers, labels, or instant decor? Self-adhesive printable photo paper opens up a world of DIY possibilities!
- Instant Stickers: Transform any photo into a peel-and-stick creation. Great for decorating laptops, journals, or creating custom labels.
- Crafting Dream: Perfect for scrapbooking without needing glue, creating wall collages, or making unique gifts.
- Peel-and-Stick Convenience: The adhesive backing makes application incredibly easy – just print, peel, and stick!
- Variations in Finish: Available in glossy, matte, and even clear finishes for different aesthetic effects.
- DIY Labels: I've used this for everything from custom spice jar labels to personalized gift tags. It’s incredibly versatile.
- Temporary Decor: Some varieties are designed to be removable, making them perfect for temporary wall decals or event decorations without damaging surfaces.
- Kids' Projects: A fantastic way to engage children in creative projects, letting them print and stick their own art or photos.
---
Making Memories Last: Archival Quality Photo Paper
If you want your prints to stand the test of time, resisting fading and degradation for decades, archival printable photo paper is non-negotiable.
- Acid-Free Composition: The hallmark of archival paper is its acid-free and lignin-free composition, which prevents yellowing and brittleness over time. This is critical for preserving precious memories.
- Fade Resistance: When combined with pigment-based inks, archival paper significantly extends the life of your prints, preventing colors from fading even when exposed to light.
- Longevity is Key: Essential for heirloom photographs, family histories, and any print you intend to pass down through generations.
- Premium Investment: While often more expensive per sheet, the long-term value of preserving memories makes it a worthwhile investment.
- Ideal for Display: For framed photos that will be on display for years, archival paper ensures they maintain their vibrancy and integrity.
- Combined with Pigment Inks: For true archival quality, pair your archival paper with pigment-based inks, not dye-based ones, which are more prone to fading.
- My Go-To for Special Occasions: Any time I print a significant family event or a cherished portrait, I always opt for archival paper. It's like a time capsule for your memories.
---
Beyond the Standard: Specialty Printable Photo Paper
Sometimes, a standard print just won't cut it. Specialty photo papers offer unique textures and effects to make your photos truly stand out.
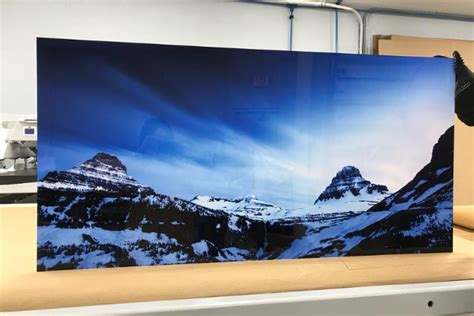
- Canvas Texture: Recreate the look and feel of a canvas painting with a textured paper. Great for art reproductions or portraits.
- Metallic Finishes: These papers give photos a vibrant, almost iridescent sheen, making colors pop with a unique metallic glow. They are fantastic for modern art, jewelry photography, or vibrant cityscapes.
- Fabric Sheets: Yes, you can print on fabric! Great for custom t-shirt transfers, quilt squares, or creating personalized fabric labels.
- Transparency Film: For creating overlays, projected images, or unique layered effects in crafts.
- Magnetic Paper: Print photos and turn them into fridge magnets! A super fun and practical application.
- Postcard Blanks: Pre-scored and often pre-printed with postcard guidelines on the back, these allow you to create personalized postcards from your own photos.
- Unleashing Creativity: These specialty papers are fantastic for pushing the boundaries of what you thought was possible with home printing. Don't be afraid to experiment!
---
Tips for Personalizing Your Photo Prints
Making your photos truly yours goes beyond just pressing print. Here’s how to add that personal touch:
- Choose the Right Paper for the Emotion: A glossy finish for a vibrant party snap, a matte finish for a contemplative landscape, or archival for a treasured family memory. The paper itself communicates emotion.
- Consider the Display: Will it be framed? In an album? A sticker? Let the final display method guide your paper choice and even your editing.
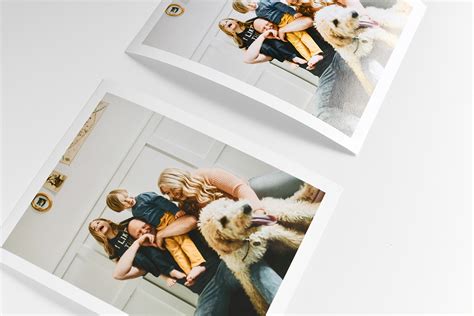
- Play with Borders: Adding a simple white border can elevate a print, giving it a professional, gallery-like feel. It's a small detail that makes a big difference.
- Think About the Story: What story does this photo tell? Can you add a small, handwritten note on the back, or incorporate it into a larger collage?
- Subtle Editing is Key: Before printing, a little light editing (color correction, sharpening) can significantly improve your results. Don't overdo it! I find a slight boost in saturation works wonders on semi-gloss paper.
- Experiment with Sizes: Don't stick to just 4x6. Try 5x7, 8x10, or even custom sizes for a more unique presentation.
- Gift with Purpose: When gifting prints, pair them with a thoughtful frame, a custom photo album, or even a personalized mug using heat transfer paper.
---
Common Pitfalls: What to AVOID When Printing Photos at Home

Even with the best paper, a few missteps can lead to disappointing results. Here’s what to look out for:
- Ignoring Printer Settings: This is probably the biggest mistake. Your printer has specific settings for photo paper and print quality. Always select "photo paper," "best quality," and the correct paper type (glossy, matte, etc.) in your printer's dialogue box. Don't be like me and print a beautiful landscape on "plain paper" settings – it looked like a watercolor horror show!
- Using the Wrong Side of the Paper: Most photo papers have a designated print side (often shinier or coated) and a back side (often plain or watermarked). Printing on the wrong side will lead to terrible quality and wasted paper.
- Mismatched Paper and Ink: Using dye-based inks on archival paper (designed for pigment inks) will negate the archival benefits. Likewise, cheap paper with premium inks is a waste.
- Poor Image Resolution: Printing a low-resolution image on high-quality paper won't magically make it sharp. Ensure your image has enough pixels for the desired print size (e.g., at least 300 DPI for best quality).
- Forgetting to Calibrate Your Monitor: What you see on screen isn't always what you get in print. Monitor calibration helps ensure color accuracy between your screen and your printer.
- Touching the Print Surface Immediately: Especially with glossy papers, touching the print too soon can lead to smudges and fingerprints. Let it dry completely!
- Storing Prints Improperly: Once printed, store your photos in archival albums or acid-free boxes to protect them from light, dust, and environmental damage. Don't just toss them in a shoebox, or they'll fade faster than your memory of what you had for breakfast!
---
Printing your own photos at home is a wonderfully rewarding experience, transforming fleeting digital moments into tangible keepsakes. With the right printable photo paper and a few smart techniques, you have the power to create stunning, long-lasting prints that tell your story. Experiment with different finishes, embrace the journey, and most importantly, enjoy the process of bringing your digital memories to life. Now go forth and print — those cherished moments are waiting!