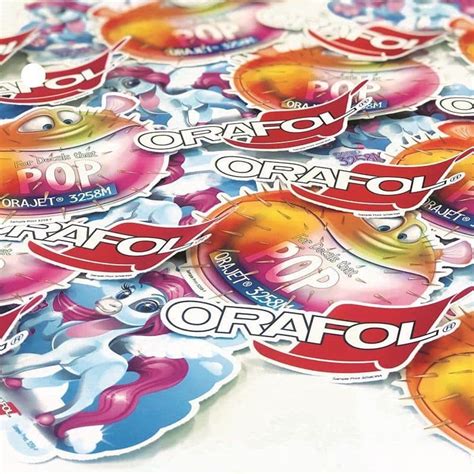
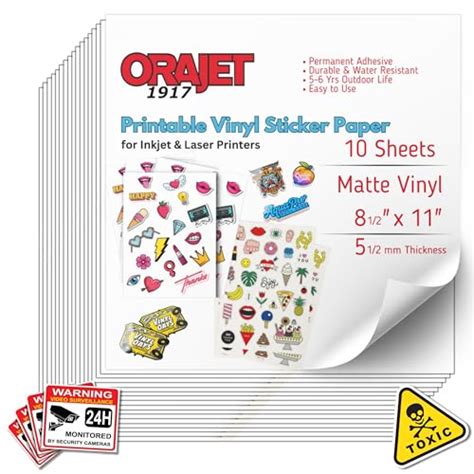
Are you diving into the exciting world of custom decals, personalized labels, or vibrant stickers? Perhaps you’ve been scrolling through Pinterest, captivated by those gorgeous, professional-looking creations and thought, "I want to do that!" If the secret ingredient you’re missing is the right material, then Orajet printable vinyl is likely popping up on your radar. Trust me, I’ve been there – staring at a new roll, a mix of excitement and mild terror, wondering if I was about to create a masterpiece or a sticky, smudged mess. My first attempt involved a desperate prayer to the crafting gods after my printer decided to eat half the sheet; thankfully, I learned a thing or two since then!
This isn't just about printing; it's about transforming your ideas into durable, beautiful realities. Whether you're a seasoned crafter with a cutting machine or just starting out with your trusty home printer, mastering Orajet printable vinyl can feel like unlocking a new superpower. But with so many options and techniques, where do you even begin? We’re going to walk through everything you need to know, from choosing the right type to troubleshooting those pesky print issues, so your next project shines bright.
Choosing Your Orajet Vinyl: The Right Fit for Your Vision
Picking the right Orajet printable vinyl is like choosing the perfect paint for your canvas – it sets the stage for success. Different projects demand different properties, and knowing the nuances can save you headaches (and wasted sheets!).
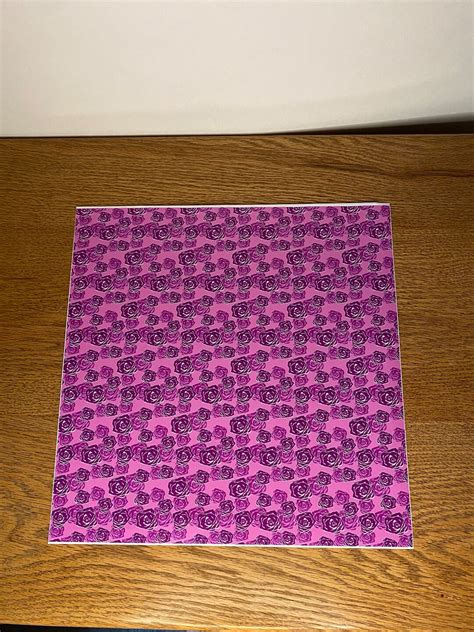
- Understanding Finish (Matte vs. Glossy): Matte finishes offer a subdued, sophisticated look and tend to hide minor imperfections or glare, ideal for elegant labels or planner stickers. Glossy provides a vibrant, reflective sheen, making colors pop and giving a professional, high-end feel – perfect for eye-catching product labels or outdoor decals. I personally lean towards glossy for anything I want to truly stand out, especially if it’s going on a water bottle!
- Inkjet vs. Laser Compatibility: This is crucial! Most home crafters use inkjet printers, so ensure your Orajet vinyl specifies "for inkjet." Using inkjet vinyl in a laser printer will melt it, and vice-versa. Always double-check the product description.
- Adhesive Type (Permanent vs. Removable): Orajet offers both. Permanent adhesive is fantastic for long-term applications like car decals, outdoor signage, or durable laptop stickers. Removable adhesive is great for temporary labels, wall decals, or projects where you might want to reposition or change things later without leaving residue.
- Water-Resistance/Waterproof Claims: If your item will encounter moisture (like mugs, tumblers, or car decals), look for vinyl explicitly labeled as "water-resistant" or "waterproof." Often, this requires a clear laminate layer over the top for maximum durability.
- Thickness (Mil): Thicker vinyl (higher mil number) is generally more durable and easier to handle without creasing. Thinner vinyl conforms better to curves. Consider your application. For robust outdoor stickers, a thicker, more durable option is usually best.
- Roll vs. Sheets: Sheets are convenient for smaller projects and standard printers. Rolls are great for larger formats or if you're producing many items and want to minimize waste. I’ve found that starting with sheets is less intimidating for beginners.
Getting Started: Printer Settings & Prep for Orajet Success
Once you have your Orajet printable vinyl in hand, the next step is crucial: preparing your printer and design. This is where many eager crafters (myself included!) stumble, but a few simple tips can make all the difference.
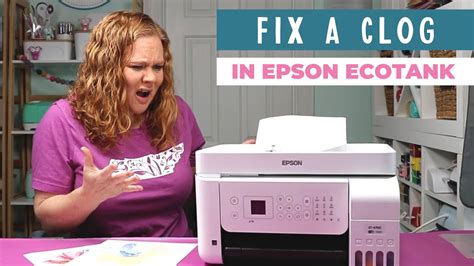
- Clean Your Printer Heads: A crucial, yet often overlooked step! Clogged print heads lead to streaks and poor color saturation, ruining your beautiful vinyl. Run a print head cleaning cycle on your printer before you start. My personal scenario that taught me this: I once wasted an entire sheet of costly Orajet trying to print vibrant stickers, only to realize my red was coming out orange because of a partially clogged nozzle. Never again!
- Use the Right Printer Settings: This is probably the most important technical tip. For inkjet printers, select "Photo Paper Glossy" or "Premium Photo Paper Matte" (depending on your vinyl's finish) in your printer settings. This tells your printer to lay down more ink and often slows the print speed, allowing for better ink absorption and a sharper image.
- Print Quality Matters: Always choose the highest print quality setting available (e.g., "Best," "High Quality Photo"). While it uses more ink and takes longer, the results are incomparable.
- Test Prints are Your Best Friend: Before committing to your valuable Orajet sheet, print your design on a regular piece of paper first. This lets you check for sizing, alignment, and color accuracy without waste. Some pros even do a "test print" on cheap plain paper, then hold it up to the Orajet to get a feel for how it will look.
- Allow Ink to Dry Fully: This is perhaps *the* most important step for preventing smudges. Orajet vinyl isn't like regular paper; the ink sits on top. Depending on your printer, ink type, and humidity, this can take anywhere from 15 minutes to several hours. For best results, I always recommend at least 2-4 hours, or even overnight, before handling heavily or applying laminate.
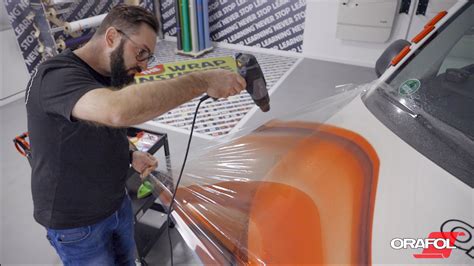
Beyond Printing: Cutting & Application Secrets

Your beautiful design is printed and dry – now for the grand finale! Whether you're hand-cutting or using a cutting machine, getting a clean cut and a smooth application are key to professional-looking results with Orajet printable vinyl.
- Lamination for Longevity: For truly durable, waterproof, and scratch-resistant stickers, a clear laminate layer is essential. There are self-adhesive laminates or heat laminates. Apply it *after* the ink has fully dried, ensuring no air bubbles are trapped underneath. This is my favorite strategy because it saved me countless times from faded or scuffed stickers, especially for outdoor use.
- Kiss Cut vs. Die Cut:
- Kiss Cut: Cuts only through the vinyl layer, leaving the backing intact. Ideal for sticker sheets where you peel off individual stickers.
- Die Cut: Cuts through both the vinyl and the backing, creating individual stickers. Adjust your cutting machine's settings accordingly.
- Cutting Machine Settings: If using a Cricut, Silhouette, or similar machine, perform a test cut on a small, inconspicuous area of your vinyl first. Start with a medium pressure setting and adjust as needed. Different vinyl types and even colors can require slightly different pressure.
- Weeding (If Applicable): If your design has intricate details or needs excess vinyl removed (e.g., for a decal), "weeding" tools (hooks, tweezers) are your friends. Take your time to carefully remove unwanted parts.
- Clean Surface for Application: Before applying your Orajet vinyl, ensure the surface is clean, dry, and free of dust, grease, or debris. Alcohol wipes work great for non-porous surfaces. This prevents bubbles and ensures maximum adhesion.
- Slow & Steady Application: For larger decals, use the "hinge method" or "wet application" (for permanent vinyl) to prevent bubbles. For smaller stickers, apply from one edge and smooth it down with a squeegee or even a credit card to push out air bubbles.
Troubleshooting Common Orajet Hurdles

Even with the best intentions, things can go wrong. But don’t panic! Many common issues with Orajet printable vinyl have straightforward solutions.
- Ink Smudging: The #1 culprit is not allowing enough dry time. Increase dry time significantly. Also, ensure you’re using the correct printer settings (e.g., "Photo Paper Glossy") as this often reduces ink saturation. If all else fails, a clear spray sealant can help before laminating.
- Fading or Bleeding (especially when wet): This usually means the vinyl isn't truly waterproof, or the ink isn't truly water-resistant. A clear laminate is your best defense against this. For outdoor projects, consider a UV-resistant laminate too.
- Poor Print Quality/Dull Colors: Check your printer ink levels. Ensure your print quality setting is on "Best" or "High." Consider calibrating your monitor if colors on screen don't match prints. Sometimes, a different brand of ink (if you're using third-party) might be the issue.
- Vinyl Not Sticking Well: Ensure the surface is clean and dry. For permanent vinyl, some surfaces (like powder-coated metal or certain plastics) require extra preparation or a different adhesive. Also, check the age of your vinyl – adhesive can degrade over time.
- Cutting Machine Issues (Not Cutting Through/Cutting Too Deep): Perform a test cut! Adjust your blade depth and pressure settings. Ensure your blade is clean and sharp. If it's dull, it will tear the vinyl instead of cutting cleanly.
Creative Project Ideas with Orajet Vinyl
The possibilities with Orajet printable vinyl are truly endless. Let your imagination run wild! Here are a few ideas to get you started:
- Personalized Water Bottles & Tumblers: Print custom designs, names, or witty quotes for durable, washable items. This is a fantastic way to gift something truly unique.
- DIY Product Labels: If you're running a small business (candles, soaps, food items), Orajet vinyl creates professional, water-resistant labels that elevate your brand.
- Kids' Stickers & Decals: Create custom character stickers, reward charts, or even removable wall decals for their rooms. My kids absolutely loved the custom dinosaur stickers I made for their toy boxes.
- Laptop & Phone Decals: Express yourself with unique designs that are both durable and easy to apply.
- Planner Stickers: Design your own functional and decorative planner stickers to stay organized in style.
- Custom Gifts: Personalized mugs, notebooks, or even photo decals for frames make incredibly thoughtful presents.
- Outdoor Signage & Banners (with proper lamination): For temporary event signage or even mailbox numbers, Orajet can be surprisingly effective.
Tips for Personalizing Your Orajet Projects
Making your Orajet printable vinyl projects truly unique goes beyond just printing a design. It's about adding that special touch that screams "you" or "them."
- Layering with Different Vinyl Types: Combine your printed Orajet with adhesive vinyl (e.g., glitter, holographic, metallic) for multi-dimensional effects. For instance, print a detailed image on Orajet, then cut a simple shape from glitter vinyl to layer underneath for a pop.
- Hand-Drawn Elements: Don't be afraid to incorporate hand-drawn or painted elements into your digital designs before printing. Scan your sketches or take photos and integrate them.
- Themed Collections: Instead of one-off stickers, design a whole collection around a theme – holidays, hobbies, inside jokes – that can be used together or gifted as a set.
- Add QR Codes: For business labels, consider adding a QR code that links to your website, social media, or product information. It’s a subtle yet powerful touch.
- Personalized Messages & Dates: Always include names, special dates, or inside jokes if the item is for a gift. It makes the item infinitely more meaningful. I find this approach works best for small teams, like when I'm making custom awards or little thank-you gifts.
Common Pitfalls: What to AVOID When Using Orajet Printable Vinyl

We've all been there – that moment when you realize you've made a rookie mistake. Learning from others' errors (and my own!) is key to a smooth crafting journey with Orajet printable vinyl.
- Don't Rush the Drying Time: Seriously, don't! This is the most common mistake leading to smudges and ruined prints. Be patient. Go make a cup of coffee. Come back later. Don’t be like me and try to laminate too soon, only to find my perfectly printed image smeared beyond recognition.
- Don't Skip the Test Print: It costs a penny in plain paper, but saves dollars (and tears) in ruined vinyl. It allows you to catch misaligned designs, off-colors, or incorrect sizing before it's too late.
- Avoid Over-Saturating with Ink: While "best quality" settings are good, ensure your design itself isn't *too* dark or vibrant for your printer's capabilities, as excessive ink can lead to bleeding or difficulty drying.
- Never Use the Wrong Vinyl Type for Your Printer: Inkjet vinyl in a laser printer will melt and damage your machine. Laser vinyl in an inkjet printer will likely result in ink that never dries. This is a fundamental rule!
- Don't Forget to Mirror if Transferring (though less common for Orajet): While Orajet printable vinyl is generally applied directly, if you ever move to heat transfer vinyl, remember to mirror your image! It’s a classic mistake.
- Avoid Dirty Surfaces During Application: Dust, lint, or fingerprints under your vinyl will create unsightly bubbles and prevent proper adhesion. A quick wipe-down can prevent a major headache.
Go Forth and Create!
There you have it – a comprehensive dive into making the most of Orajet printable vinyl. It might seem like a lot of steps, but once you get the hang of it, you'll be churning out professional-quality stickers and decals like a pro. Remember, crafting is all about experimentation and learning from each project. Don't be afraid to try new things, even if it means a minor mishap or two. Each "oops" is just a lesson in disguise! Now go make their day, customize your world, and create something truly awesome with your newfound Orajet knowledge!