Ever found yourself scrolling through endless craft ideas, searching for that perfect blend of nostalgic charm, creative fun, and an activity that won't break the bank? Perhaps you're planning a birthday bash, a classroom project, or just a quiet afternoon of crafting with the kids. Trust me, I've been there, staring at a blank sheet of paper, wondering how to bring a little extra magic into an ordinary day. That's how I first stumbled upon the joy of the printable gumball machine. It's more than just a craft; it's a miniature dispenser of happiness, ready to be filled with treats, notes, or tiny toys.
This isn't just about printing and folding; it's about unlocking a world of creative possibilities, from charming party favors to educational tools. Whether you're a seasoned crafter with a glue gun always at the ready or a complete beginner just dipping your toes into DIY projects, you're in the right place. We're going to dive deep into making your own adorable and functional printable gumball machine, exploring different styles, clever uses, and how to make yours truly special. Get ready to roll out some serious fun!
---
Table of Contents

- Classic Charm: The Traditional Look
- Kid-Friendly & Fun: Playful Designs
- Party Perfection: Favors & Decorations
- Educational & Interactive: Learning Through Play
- Advanced Artistry: Customization & Embellishments
- Quick & Easy: Last-Minute Printables
- Tips for Personalizing Your Printable Gumball Machine
- Common Pitfalls: What to AVOID When Creating Your Printable Gumball Machine
---
Classic Charm: The Traditional Look

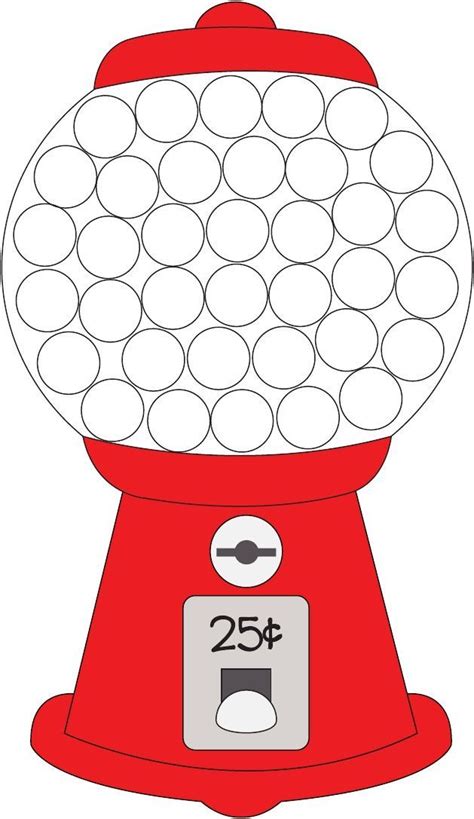
There's something undeniably nostalgic about the classic red-and-chrome gumball machine. Recreating this iconic look with a printable gumball machine brings a timeless appeal to any setting. Think of it as a mini-masterpiece that evokes childhood memories and simpler times.
Here are some ideas for a timeless, traditional printable gumball machine:
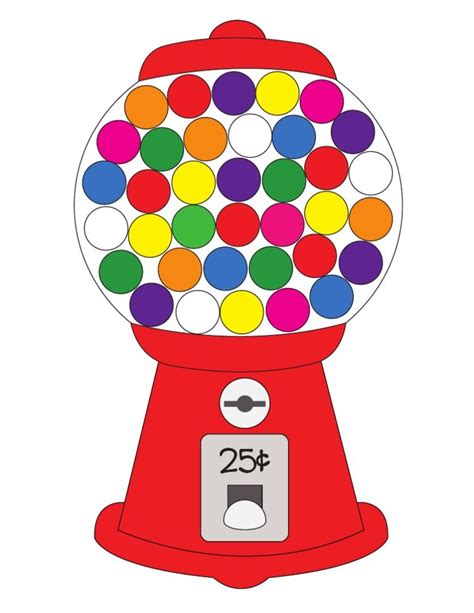
- Retro Red & Chrome: Print a template with a vibrant red base and silver/grey accents for the "metal" parts. You can even use metallic-finish paper for the details! *I once made a few of these for a vintage-themed bake sale, and they were the first items to "sell out" of candy!*
- Victorian Elegance: Opt for a template with ornate details, maybe even subtle floral patterns or filigree, in muted tones like maroon, forest green, or deep blue.
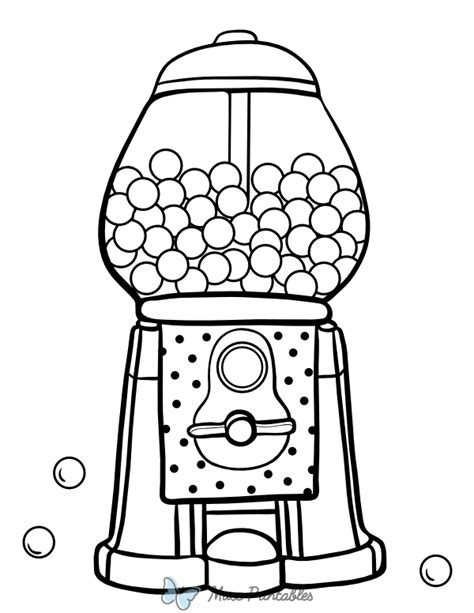
- Black & White Simplicity: A minimalist design with bold black outlines on white paper, perfect for a modern aesthetic or letting the colorful "gumballs" pop.
- Aged Patina Effect: Use a template designed to look worn, with faded colors and subtle "rust" effects for a truly antique feel.
- Shiny Penny Slot: Focus on the details! A well-defined slot and turning knob can really sell the illusion of a working vintage machine.
- "Penny Each" Sign: Add a tiny, hand-drawn or printed sign that says "1¢" or "Penny Each" to complete the old-school vibe.
- Weighted Base: While it's paper, adding a small piece of cardboard or even a few coins (glued in!) to the base can give it a more substantial feel.
- Clear Dome Illusion: Use transparent acetate sheets for the "glass" globe, adding a realistic touch that lets your treats shine through.
- Solid Color Statement: Sometimes, just a perfectly rendered solid red, blue, or green machine with clean lines is all you need for classic appeal.
- Larger Scale Classic: Find a template for a slightly larger printable gumball machine to really make it a centerpiece.
Kid-Friendly & Fun: Playful Designs
When you're crafting for or with little ones, the printable gumball machine transforms into a canvas for pure imagination! This is where you can go wild with colors, characters, and whimsical themes that spark joy and encourage play.
Here are some vibrant and playful ideas:
- Rainbow Burst: A machine where each section or panel is a different bright color of the rainbow.
- Animal Friends: Print templates with animal faces on the globe or base (e.g., a monkey, a cat, an owl). *My niece absolutely adored the one I made with a unicorn horn and glitter, naming it "Sparkle Dispenser."*
- Monster Mash: Go silly with googly eyes, sharp teeth cutouts, and crazy patterns. Perfect for a Halloween craft or just everyday monster fun.
- Outer Space Adventure: Decorate with stars, planets, and rockets. The gumballs could be "meteorites" or "alien eggs"!
- Under the Sea: Think fish scales, coral patterns, and perhaps a friendly octopus or mermaid peeking out.
- Dinosaur Dig: Templates featuring dino footprints, fossil patterns, or even a T-Rex trying to get at the "gumballs."
- Super Hero Power-Up: Design your machine to look like a hero's gadget, complete with comic book-style sound effects printed on it (POW! ZAP!).
- Farmyard Fun: Features like barn doors, farm animals, or even corn kernels as "gumballs."
- Fairy Tale Castle: Give the machine turrets and flags, turning it into a magical treat dispenser.
- Sports Mania: Base it on a favorite sport, with patterns resembling a football, basketball, or even team colors.
Party Perfection: Favors & Decorations
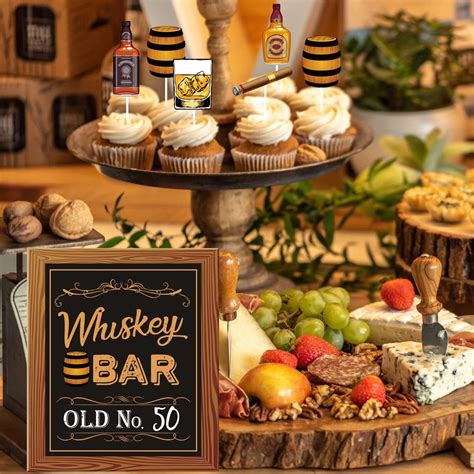
A printable gumball machine isn't just a craft; it's a fantastic, customizable element for any celebration. Use them as unique party favors, eye-catching centerpieces, or delightful additions to your dessert table.
Consider these party-ready ideas:
- Mini Favor Machines: Scale down the templates to create small individual machines, perfect for filling with a few candies or small toys as take-home favors.
- Centerpiece Statement: Create one large, elaborate gumball machine as the focal point of your table. Fill it with a mix of candies that match your party's color scheme.
- "Guess the Number" Game: Fill a transparent printable gumball machine with a specific count of items, and have guests guess how many are inside for a fun party game. *I once used this for a baby shower, filling it with jelly beans, and it was a huge hit!*
- Photo Booth Prop: Design an oversized, whimsical gumball machine as a fun backdrop or prop for memorable party photos.
- Name Tags/Place Cards: Print small gumball machines and write guest names on them, placing one at each setting.
- Themed Treat Dispenser: Match the machine's design to your party theme – e.g., a pirate chest gumball machine for a pirate party, or a princess castle for a royal celebration.
- Gift Card Holder: A clever way to present a gift card, by making it look like it's dispensed from the machine.
- Candy Bar Addition: Use multiple printable gumball machines, each filled with a different type of candy, as part of a larger candy buffet.
- "Thank You" Message Holder: Instead of candy, fill mini machines with rolled-up thank you notes for guests.
- Seasonal Decor: Adapt the design for holidays – a pumpkin gumball machine for Halloween, or a snowman for Christmas.
Educational & Interactive: Learning Through Play
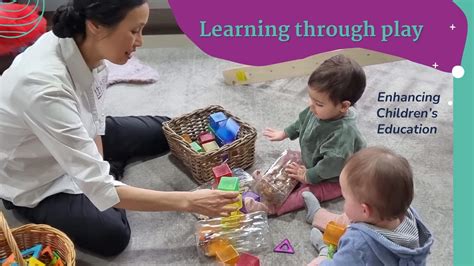
Beyond just a craft, a printable gumball machine can be a fantastic tool for learning. It offers a hands-on way to teach concepts ranging from counting to color recognition, all while engaging young minds in a playful activity.
Here’s how to make it an educational experience:
- Counting Practice: Use the machine to practice counting. Kids can "dispense" a certain number of items, or count how many fit inside. *This is my favorite strategy for kindergarteners; it turns a chore into a game.*
- Color Sorting: Provide "gumballs" of different colors and have children sort them into separate bins or even different mini machines designated by color.
- Letter/Number Recognition: Print letters or numbers on small paper "gumballs" and have kids identify them as they come out.
- Fine Motor Skills: The act of placing small items into the machine and manipulating any "dispensing" mechanism (even a simple flap) is great for developing fine motor skills.
- Storytelling Prompts: Fill the machine with various small objects or pictures, and have children pick one at random to start a story.
- "Good Deed" Rewards: Children earn a "gumball" for completing chores or good behavior. The gumball could contain a small reward or privilege.
- Simple Machines Exploration: Discuss how a real gumball machine works (levers, gravity) while assembling the paper version, explaining the concepts simply.
- Pattern Recognition: Use "gumballs" with different patterns and encourage kids to create sequences.
- Budgeting Basics: If you add a "coin slot," discuss the idea of "paying" for a gumball and basic money concepts.
- Vocabulary Builder: Fill the machine with small pictures of objects and have children name them as they "dispense" them.
Advanced Artistry: Customization & Embellishments
For those who love to take a craft project to the next level, the printable gumball machine is an open invitation for artistic expression. This is where you can really make your creation unique, showcasing your personal style and attention to detail.
Elevate your gumball machine with these artistic touches:
- Mixed Media Magic: Don't limit yourself to paper! Incorporate fabric scraps, small buttons, glitter, sequins, or even tiny beads for texture and sparkle.
- Hand-Painted Details: After printing, use acrylic paints or markers to add highlights, shadows, or intricate patterns not achievable with standard printing.
- Embossing & Debossing: If you have the tools, add raised or recessed textures to specific parts of the machine, like the base or coin slot, for a more realistic feel.
- Die-Cut Elements: Use a cutting machine (like a Cricut or Silhouette) to add perfectly cut accents, intricate grilles, or layered designs.
- 3D Elements: Create small 3D paper elements like miniature levers, wheels, or even a tiny candy chute to glue onto your machine.
- Realistic Finishes: Experiment with gloss varnishes for the "glass" globe, or matte spray for the "metal" parts to enhance realism.
- LED Illumination: For truly ambitious crafters, carefully integrate tiny battery-operated LED lights to make the gumball machine glow.
- Themed Miniatures: Design tiny labels for specific "candies" or create miniature versions of other objects to put inside the globe.
- Interactive Spin: If the template allows, reinforce the "turn knob" so it actually spins (even if it doesn't dispense).
- Personalized "Brand": Design a tiny, custom logo or "brand name" for your gumball machine to give it a truly bespoke feel.
Quick & Easy: Last-Minute Printables
Sometimes you need a fantastic craft that comes together quickly, without a lot of fuss or specialized materials. The beauty of a printable gumball machine is how adaptable it is for those moments when time is of the essence.
Here are ideas for fast and simple creations:
- Minimalist Line Art: Print a simple outline template on plain white paper and let kids color it in with crayons or markers. Instant customization!
- Pre-Colored Templates: Find templates that are already pre-colored, so all you have to do is print, cut, and assemble. Perfect for busy parents or teachers.
- Single-Sheet Wonders: Look for templates designed to be printed on just one sheet of paper, minimizing cuts and folds. *I once needed a quick birthday card prop and whipped one of these up in less than 15 minutes – it saved the day!*
- No-Glue Option: Some clever designs might use tabs and slots for assembly, eliminating the need for glue, which speeds up the process and reduces mess.
- Sticker Embellishments: Instead of intricate drawing, use fun stickers to decorate the machine post-assembly.
- Recycled Materials Integration: Use an empty toilet paper roll for the base or a clear plastic cup for the globe, cutting down on paper printing and assembly.
- "Cheat Sheet" Instructions: Find templates with super clear, step-by-step visual instructions to avoid any confusion. Don't be like me and make this mistake in a clutch moment, trying to guess which tab goes where!
- Digital Coloring: For a truly quick "printable," digitally color a template on a tablet or computer, then print the finished design.
- Large Format Simplicity: Print a large, simple gumball machine template that's easy for little hands to cut and fold.
- Theme Kits: Look for printable kits that include not just the machine, but also pre-designed "gumballs" or other tiny props.
Tips for Personalizing Your Printable Gumball Machine
Making your printable gumball machine uniquely yours is where the real magic happens. It’s not just about following instructions; it’s about infusing your personality and the recipient's joy into every fold and detail.
- Think About the Recipient: If it’s a gift, what are their favorite colors, hobbies, or characters? Integrate these into the design. A subtle nod goes a long way.
- Customize the "Gumballs": Don't just stick to candy! Fill your machine with tiny rolled-up notes, inspiring quotes, mini jokes, or even small tokens. This is my favorite approach because it allows for endless surprises.
- Add Names or Dates: Personalize the base or the globe with a name, a special date, or a celebratory message using calligraphy or custom fonts.
- Beyond Paper: While it's a printable, don't hesitate to add embellishments like glitter glue, puffy paint, fabric scraps, or even tiny ribbons.
- Make it Themed: If it's for an event, ensure the colors and style of your gumball machine match the party's theme perfectly.
- Choose Your Print Material Wisely: The type of paper you use makes a huge difference. Cardstock will give you a sturdier, more professional-looking machine than regular printer paper. For an extra pop, try glossy photo paper or matte presentation paper.
- Consider the "Candy" Inside: The actual treats or items you put in will be a major part of the overall aesthetic. Choose colors that complement or contrast beautifully with your machine's design.
Common Pitfalls: What to AVOID When Creating Your Printable Gumball Machine
Even the most charming projects can hit a snag. Knowing what to avoid will save you time, frustration, and ensure your printable gumball machine looks as fantastic as you envisioned.
- Don't Use Flimsy Paper: This is the number one mistake I see. Regular printer paper (80gsm) is too thin; your gumball machine will sag, bend, and tear easily. Invest in cardstock (at least 180-200gsm) for durability. It's like trying to build a castle with tissue paper – it just won't hold!
- Avoid Over-Gluing: A little glue goes a long way! Too much can warp the paper, create messy bulges, and take forever to dry. Use small, precise dots or thin lines.
- Rushing the Cuts: Crooked lines and jagged edges can ruin an otherwise perfect printable. Take your time with scissors or a craft knife, especially on curves and small details.
- Ignoring Score Lines: If your template has score lines (dashed lines that indicate where to fold), *use them*. Scoring before folding creates crisp, clean folds, giving your machine a professional finish. Trying to fold without scoring can lead to messy, uneven creases.
- Forgetting "Gumball" Size: Before assembly, consider what you're putting inside. Is the opening large enough? Will your "gumballs" actually fit and dispense (if applicable)? This seems obvious, but it's easy to overlook until it's too late.
- Using Non-Drying or Yellowing Glues: If you're going for a clean look, avoid glues that leave residue or yellow over time. Opt for clear-drying craft glues or double-sided tape.
- Not Testing Your Printer Settings: Always do a test print of a small section if you're unsure about scale or color accuracy, especially if you're using specialty paper.
- Ignoring Safety with Small Parts: If making for young children, ensure all components are securely attached and that any "gumballs" are not a choking hazard.
---
And there you have it! From classic charm to quick fixes, your journey into creating an enchanting printable gumball machine is now well underway. Remember, the goal isn't just a perfectly crafted paper model; it's about the joy of creation, the shared moments, and the delightful surprise these little machines bring. So, grab your paper, your scissors, and a dash of creativity, and get ready to dispense some serious happiness. Now go make their day—or even just your own afternoon!