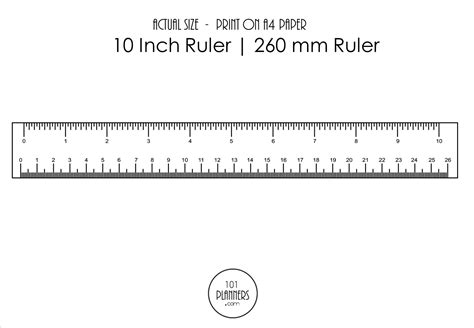
Ever been in a bind, needing to measure something precisely, only to realize your trusty ruler is nowhere to be found? Or perhaps you're working on a craft project, a DIY repair, or even explaining something to a child, and a digital screen just won't cut it? Trust me, I've been there! I once tried to eyeball the dimensions for a small electronic component and ended up ordering the wrong part—a classic "measure twice, cut once" fail. That's when I discovered the magic of a printable ruler with mm markings, and it truly changed the game.
This isn't just about printing a line with numbers; it's about having an instant, reliable, and surprisingly accurate tool at your fingertips, ready for any impromptu measuring task. Whether you're a seasoned maker or just need to check the size of a screw, getting a high-quality, accurate printable ruler with millimeter markings can save you time, effort, and those frustrating "almost right" moments. Let's dive into how to master this surprisingly essential tool.
Why a Printable Ruler with MM is Your Unexpected Hero
Sometimes, the simplest tools are the most powerful. A printable ruler offers unmatched convenience and can bail you out of countless situations. It's the perfect solution for urgent needs or when you require a disposable, project-specific measuring device.
- Instant Gratification for Urgent Needs: Forget rummaging through your toolbox or making a trip to the store. If you need a quick measurement for a package, a new piece of furniture, or even to check if your cat will fit into that box (mine definitely won't!), a printable ruler is your fastest friend. I once needed to measure a PCB for a quick diagram, and my physical ruler was buried. Printing one out in seconds was a lifesaver.
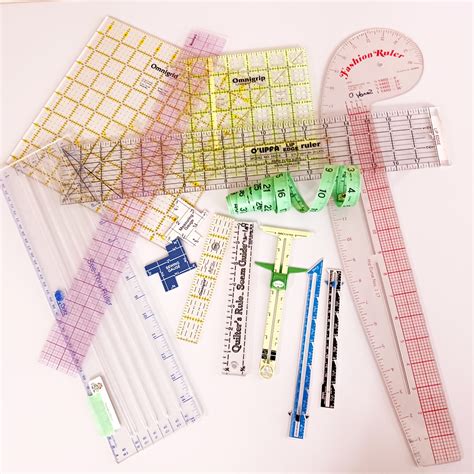
- Precision for Small-Scale Projects: Millimeters are crucial for crafts, electronics, and intricate designs. A well-printed ruler ensures you have the granular detail needed for precision work without expensive specialized equipment. This is my favorite strategy for ensuring tiny bead spacing is consistent in my jewelry making.
- Temporary or Disposable Use: Working with glues, paints, or other messy materials? Print a ruler, use it, and if it gets gunked up, no big deal. Just print another! It's fantastic for shared workspaces where tools might get "borrowed" indefinitely.
- Educational Tool for Kids: Teaching children about measurement, fractions, or the metric system? A paper ruler is tactile, easy to use, and they can even decorate it, making learning fun.
- Budget-Friendly & Accessible: All you need is a printer and paper. This makes precise measurement accessible to everyone, everywhere, eliminating cost barriers for essential tools.
Getting the Most Accurate Printable Ruler with MM
Accuracy is key when it comes to measuring. A printable ruler is only as good as its print quality and the calibration of your printer. Don't worry, it's simpler than it sounds!
- Check Your Printer Settings First: Before hitting print, ensure your printer scaling is set to "100%" or "Actual Size." *Never* select "Fit to Page" or "Scale to Fit," as this will distort the measurements. This is where most people go wrong!
- Calibrate with a Known Reference: Once printed, grab a physical ruler, credit card, or even a standard US dollar bill (which is 155.956 mm long) and compare. If your printed ruler matches, you're golden. If not, you might need to adjust your printer's scaling by tiny increments and re-test.
- Use Quality Paper: Thicker paper (like cardstock) will give you a more durable and stable ruler. Flimsy paper can bend easily, leading to inaccurate readings.
- Print in High Resolution: Opt for the best print quality setting your printer offers. Sharper lines mean clearer markings and easier, more precise measurements.
- Cut Carefully and Straight: Use scissors or a paper trimmer to cut along the outer edges of the ruler template. A clean, straight edge is vital for accurate zero-point measurements.
Creative Uses Beyond Basic Measuring
A printable ruler isn't just for checking dimensions; it can be a versatile tool for various projects and learning experiences. Embrace its flexibility!
- Quick Templates for Crafts: Need to draw consistent lines or shapes? A printed ruler can be cut into smaller sections to serve as specific templates for quilting, scrapbooking, or origami.
- Visual Aids for Presentations: Creating a school project or a work presentation where visual scale is important? Print a ruler to include as a reference. This is what I used when explaining miniature painting scales.
- Emergency Repair Guides: If you're tackling a repair and need to identify screw sizes or component dimensions, a printable ruler can be a quick reference right next to your workspace.
- Portable Scale for Photography: For product photography or documenting archaeological finds, placing a small printed ruler next to the object provides an immediate sense of scale.
- Kids' Learning & Play: Turn measurement into a game! Have kids measure their toys, draw mazes with specific path widths, or create paper-only constructions requiring precise cuts.
- Field Expediency Tool: I once saw a photographer use a printed ruler taped to a water bottle as an impromptu scale reference for close-up shots in the field – brilliant!
- Gardening Layouts: Planning a small garden bed? Use a printed ruler to mark out precise planting distances for seeds or seedlings.
Troubleshooting Common Printable Ruler Issues
Even with the best intentions, things can go awry. Here’s what I learned the hard way about common problems and how to fix them, so you don't make the same mistakes I did!
- Ruler is Too Small/Large: This is almost always a scaling issue. Go back to your print settings and ensure "Actual Size" or "100%" is selected. If that doesn't work, try adjusting the custom scale by 1-2% increments. Don't be like me and print five versions before realizing the scaling was off by a tiny percentage!
- Lines are Fuzzy or Jagged: Your print quality setting might be too low, or your printer's printhead might need cleaning. Try printing at a higher DPI (dots per inch) or running a printhead cleaning cycle.
- Inaccurate Markings: If your ruler looks correct but measures wrong, it could be a printer calibration issue. Use a known standard (like a credit card or another ruler) to check the printed ruler. If it's consistently off, your printer might need service or a more precise scale adjustment.
- Paper Jams or Feed Issues: Using paper that's too thin or too thick for your printer can cause problems. Check your printer's specifications for recommended paper weight.
- Template Won't Print: Ensure your PDF reader or browser is updated. Sometimes older software can struggle with newer PDF formats. Also, check if your ink cartridges are genuinely empty or if there are any error messages from your printer.
Tips for Getting the Most Out of Your Printable Ruler
Beyond just printing, here are some practical tips to elevate your experience with a printable ruler, making it a truly useful addition to your toolkit.
- Laminate for Durability: For repeated use, laminate your printed ruler! It makes it water-resistant and much more durable, especially for messy projects or outdoor use.
- Attach to Stiffer Material: Glue your printed ruler onto a piece of cardboard, an old cereal box, or even a thin piece of wood for a more robust, straight edge that won't bend.
- Mark Specific Measurements: If you frequently use a specific measurement (e.g., 25mm for small parts), make a bold mark on your laminated or reinforced ruler. It saves time.
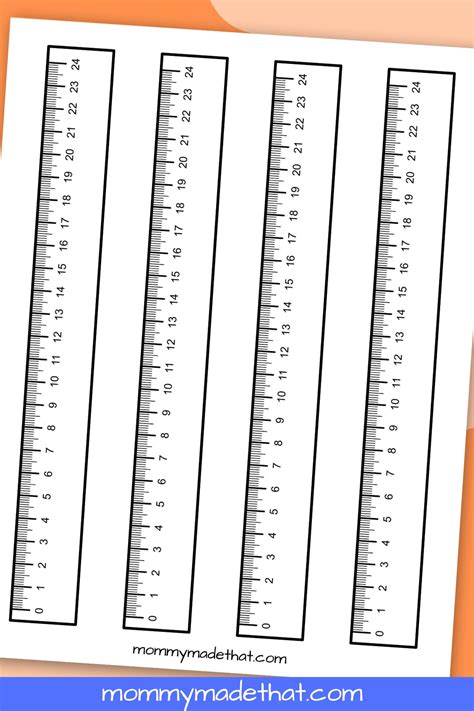
- Create Custom Combinations: Print multiple rulers and tape them together to create a longer measuring tape if needed. This is great for measuring larger items when a standard 30cm ruler isn't enough.
- Digital Tools for Precision: Pair your physical printable ruler with online digital rulers (which often have calibration tools) for verification or when you need to measure something on your screen before printing. I find this approach works best for quick initial checks.
- Share with Your Community: If you find or create a particularly good printable ruler template, share it! Online communities thrive on useful resources, and you might help someone else out of a measuring jam.
Conclusion
Who knew a simple piece of paper could be such a powerful measuring tool? A printable ruler with mm markings is an incredibly versatile, accessible, and often overlooked solution for all your measurement needs. From quick DIY fixes and intricate crafts to educational activities and emergency repairs, having an accurate paper ruler at your disposal can truly make a difference. So, next time you're stuck, remember this guide, fire up your printer, and get ready to measure with confidence. Now go, make accurate cuts, build amazing things, and never be caught without a ruler again!