Ever dreamt of customizing that plain mug, adding a unique touch to your phone case, or bringing miniature models to life with intricate designs? You're not alone. The desire to personalize our world, to infuse a bit of our own magic into everyday objects, is incredibly powerful. For so long, custom decals felt like something only professional workshops could achieve, leaving the rest of us with limited, mass-produced options.
But what if I told you there's a surprisingly accessible tool that puts this power directly into your hands? Enter printable decal paper. This seemingly simple material is a game-changer for crafters, hobbyists, and anyone with a creative itch. I still remember the thrill of successfully putting my own custom design on a ceramic plate for the first time – after a few messy attempts, mind you! It felt like discovering a secret superpower.
This isn't just about sticking a sticker; it's about transforming ordinary items into extraordinary reflections of your personality or brand. Whether you’re a beginner looking to dip your toes into custom crafting or a seasoned DIY enthusiast seeking to refine your technique, this guide is designed to walk you through everything you need to know. We’ll demystify the process, share hard-earned tips, and help you avoid the common pitfalls, ensuring your creative visions come to life flawlessly.
The Magic Behind the Medium: What is Printable Decal Paper?
Before we dive into the exciting world of creation, let’s get on the same page about what printable decal paper actually is. At its core, it's a specialized paper that allows you to print your own designs using a standard inkjet or laser printer, which can then be transferred onto various surfaces. Think of it as a DIY tattoo for your belongings!
Here’s a breakdown of its fundamental aspects:
- It’s Not Just Sticker Paper: While often confused with adhesive sticker paper, decal paper is different. Many types, especially water-slide, require a different application method, allowing for a seamless, "painted on" look.
- Inkjet vs. Laser Compatible: Crucially, decal paper is designed for either inkjet or laser printers. Using the wrong type can lead to smudged prints or even damage your printer. Always check the packaging!
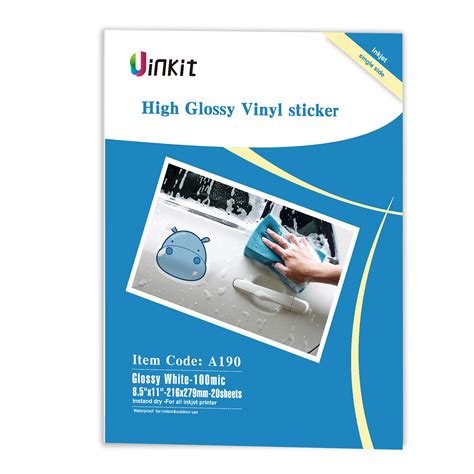
- Clear vs. White: Printable decal paper typically comes in two variations: clear and white. Clear paper is best for designs with a lot of negative space where you want the background object to show through, while white paper is ideal for opaque, vibrant designs, especially on dark surfaces.
- The Power of Personalization: This paper opens up endless possibilities for custom projects, from personalized mugs and candles to unique nails and model kits. It’s perfect for adding that unique flair to gifts or even starting a small crafting business.
- The "Secret" Layer: Most decal papers have a thin film layer on top of a backing paper. After printing, this film, carrying your design, is what gets transferred to your chosen surface.
Choosing Your Canvas: Finding the Perfect Printable Decal Paper Type
Navigating the world of printable decal paper can feel a bit overwhelming with so many options. But understanding the main types is key to choosing the right one for your project. Trust me, picking the wrong paper can turn a dream project into a sticky nightmare!
Here are the primary types and their best uses:
- Water-Slide Decal Paper:
- How it Works: Printed, then soaked in water to separate the image film from the backing, allowing you to slide the design onto the surface.
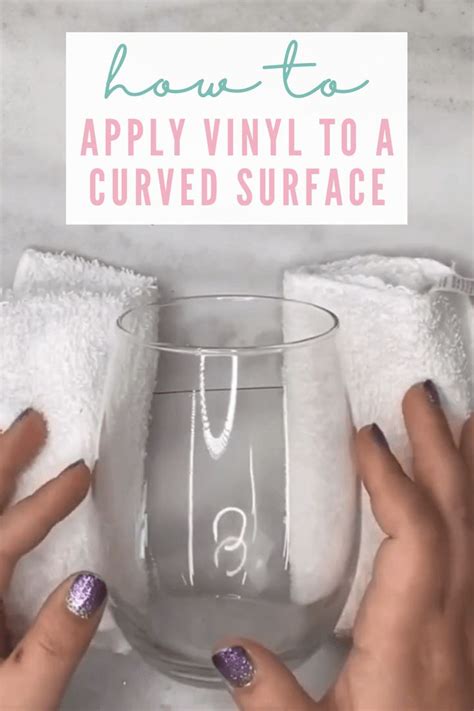
- Best For: Smooth, non-porous surfaces like ceramics (mugs, plates), glass, metal, plastic models, candles, and even fingernails. It gives a very thin, "no-edge" look, almost as if the design was painted directly on.
- My Tip: Always apply a clear acrylic spray sealer *after* printing but *before* soaking, especially with inkjet paper, to prevent the ink from running. I learned this the hard way when a beautiful custom mug design melted into a watery mess!
- Adhesive (Peel & Stick) Decal Paper:
- How it Works: This is more akin to traditional sticker paper but is specifically designed to be thin and conform well to surfaces. You print, cut, and peel off the backing to stick.
- Best For: Any smooth surface where you want a durable, strong bond, such as laptops, water bottles, custom labels, signage, or intricate wall decals. It's often thicker than water-slide paper.
- My Tip: While easy to apply, be mindful of air bubbles! Apply slowly from one edge, smoothing as you go. For larger designs, I find a squeegee indispensable.
- Clear vs. White (Again):
- Clear: Your design will be translucent where there's no ink. Best for light-colored surfaces where you want the background color to show through parts of your design.
- White: Provides an opaque background for your design. Ideal for dark surfaces where clear paper's colors would disappear, or when you need vibrant, true-to-color prints.
- Personal Preference: For detailed graphics on light backgrounds, clear water-slide is my go-to. But for bold, colorful logos on darker items, white adhesive paper is unmatched.
Printer Prowess: Mastering the Print Settings for Decal Paper
You've got your design ready, you've picked your printable decal paper, now it's time to print! This step is critical, and often where beginners (and even seasoned crafters) make mistakes. Proper printer settings can make or break your decal.
Here are the crucial steps and tips for a flawless print:
1. Check Your Printer Type: Double-check that your decal paper is compatible with your printer (inkjet for inkjet, laser for laser). This is non-negotiable!
2. Use High-Quality Images: Garbage in, garbage out. Ensure your design resolution is high enough to prevent pixelation. Aim for at least 300 DPI (dots per inch).
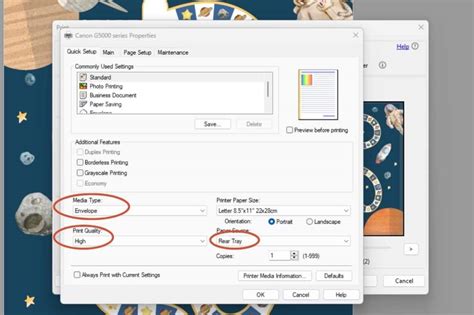
3. Adjust Print Settings: This is where the magic happens.
- Paper Type: Select "Glossy Photo Paper," "Specialty Paper," or the highest quality photo paper setting available in your printer dialogue. This tells your printer to lay down more ink and often slows down the print speed for better detail.
- Print Quality: Always choose "Best" or "High Quality." Never "Draft" or "Normal."
- Mirror Image (for some Water-Slide): If you're applying water-slide decals to *the underside* of clear surfaces (like glass plates where the design will be viewed from the top), or certain textile applications, you'll need to mirror your image. For most other applications (mugs, models), print normally.
4. Perform a Test Print: Don't waste your precious decal paper! Print your design on a regular sheet of paper first to check sizing, color accuracy, and layout.
5. Allow Ink to Dry Completely: Especially with inkjet decal paper, allow ample drying time (often 15-30 minutes, or even longer) before handling or applying a sealant. Rushing this step is a common pitfall.
6. Seal It Up (Inkjet Only): For inkjet printable decal paper, a clear acrylic spray sealer (like Krylon Crystal Clear or similar) is essential to prevent the ink from running when it touches water. Apply 2-3 light, even coats, allowing each coat to dry completely.
The Art of Adhesion: Applying Your Decals Flawlessly
So, you've printed and prepped your printable decal paper design. Now for the satisfying part: applying it! This is where patience and technique truly pay off. A smooth, bubble-free application makes all the difference.
Here’s my step-by-step guide to perfect decal placement:
1. Prepare Your Surface: The surface must be clean, dry, and free of dust, grease, or debris. I often use rubbing alcohol to wipe down hard surfaces like glass or ceramic, letting it evaporate completely.
2. Cut Your Decal: Carefully cut around your printed design. For water-slide decals, cut as close to the edge of the design as possible without cutting into it, as the unprinted film will show. For adhesive decals, you can leave a small border or cut precisely.
3. Water-Slide Application (The Delicate Dance):
- Soak It: Submerge your cut decal in a shallow dish of lukewarm water. It will curl, then flatten. Wait until the decal slides easily on its backing paper (usually 30-60 seconds).
- Position: Carefully slide the decal from the backing onto your prepared surface. This is the trickiest part! A small brush or your finger can help gently guide it into place.
- Squeegee Time: Once positioned, gently smooth out any water or air bubbles from the center outwards using a soft cloth, paper towel, or a rubber squeegee. Be gentle to avoid tearing the delicate film.
- Dry & Cure: Allow the decal to dry completely, ideally for 24-48 hours. For water-slide decals on items like mugs, you might need to bake them in a low oven (check paper instructions!) or apply a topcoat for durability.
4. Adhesive Decal Application (Peel and Stick Simplicity):
- Peel Carefully: Slowly peel the backing paper from one corner of your decal.
- Align & Apply: Align one edge of your decal with your surface, then slowly lower the rest of the decal, smoothing it down with a squeegee or your fingers as you go. This prevents bubbles.
- Work Out Bubbles: If bubbles appear, gently lift a section and reapply, or try to push them to the edge with your squeegee. For stubborn tiny bubbles, a pinprick can help release the air, which you can then smooth down.
5. Final Sealing (For Durability): For maximum durability, especially for items that will be handled frequently or washed (like mugs), apply a clear topcoat (e.g., clear spray lacquer, epoxy resin, or dishwasher-safe Mod Podge) over your *entire* decaled object. This protects the decal and makes it dishwasher safe if using appropriate products.
Beyond the Basics: Sealing, Durability, and Troubleshooting Printable Decal Paper
You've successfully applied your printable decal paper design, but the journey doesn't end there! Ensuring durability and knowing how to troubleshoot common issues will save you headaches and heartbreak. This is where your expertise truly shines.
Here are some advanced tips and problem-solving strategies:
- Sealing for Longevity:
- Clear Acrylic Sprays: Good for light-use items or those not exposed to water (e.g., models, decorative boxes). Apply multiple thin coats.
- Epoxy Resin: For ultimate durability and a glossy finish, especially for mugs, tumblers, or coasters. It creates a hard, protective layer that can make items truly dishwasher-safe. *I find this approach works best for items that will see daily use; it provides a professional, high-end look and feel.*
- Dishwasher-Safe Mod Podge: A brush-on option for ceramic or glass items. Requires multiple coats and a long cure time (up to 28 days!), but offers good water resistance.
- Preventing Yellowing: Some clear sealants or even the decal paper itself can yellow over time, especially with UV exposure. Look for non-yellowing, UV-resistant clear coats. Storing finished items out of direct sunlight can also help.
- Troubleshooting Common Issues:
- Bubbles (Water-Slide): Often caused by not enough water under the decal or not enough pressure during squeegeeing. Try to gently work them out with a wet finger or small, soft brush. For dried bubbles, sometimes a tiny pinprick and re-smoothing can help.
- Bubbles (Adhesive): Usually from applying too quickly. Lift slowly and reapply, or use a squeegee to push them out from the center.
- Tearing (Water-Slide): This happens if the decal is handled too roughly or isn't fully separated from the backing. Patience is key!
- Ink Bleeding (Inkjet Water-Slide): You didn't seal it well enough! Go back to sealing with 2-3 light coats of clear acrylic spray *before* soaking. Don't be like me and skip this step; it's a guaranteed mess!
- Wrinkling/Shrinking: Sometimes related to temperature changes or improper sealing. Ensure your surface and decal are at room temperature during application.
- Curing Time is Crucial: Always respect the recommended drying and curing times for both the decal and any applied sealants. Rushing this step is a recipe for failure, whether it's smudging or peeling down the line.
Unleash Your Creativity: Inspiring Project Ideas for Printable Decal Paper

The best part about printable decal paper is the sheer versatility it offers. Once you've mastered the techniques, your imagination is truly the only limit. Here are some inspiring project ideas to get your creative juices flowing:
- Personalized Drinkware: Design custom mugs, tumblers, wine glasses, or water bottles. Perfect for gifts, party favors, or just making your morning coffee routine more special.
- Custom Candles: Add intricate designs, monograms, or photos to plain candles for unique decor or heartfelt gifts. (Use water-slide for this, no flame contact!)
- Model Building & Miniatures: For hobbyists, this paper is invaluable for adding custom markings, weathering effects, or unique liveries to scale models, trains, planes, and figurines. *I once used tiny custom decals to make a generic toy car look exactly like my friend's first car – priceless reaction!*
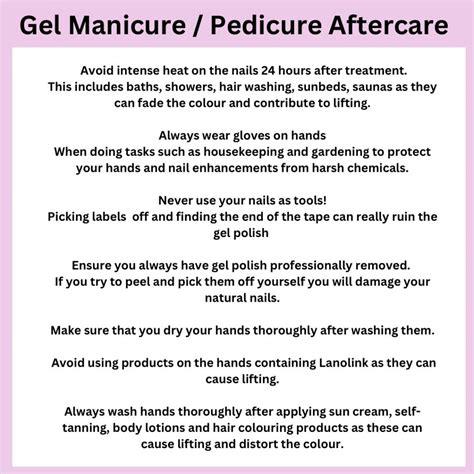
- Nail Art: Create bespoke nail decals with tiny patterns, characters, or even miniature photos for truly unique manicures.
- Ceramic & Glass Decor: Beyond mugs, think custom tiles, decorative plates, vases, or even intricate window clings.
- Electronics Skins: Personalize your laptop, phone case, gaming console, or controller with unique designs.
- Craft Projects & Scrapbooking: Add personalized elements to scrapbooks, greeting cards, journals, or mixed media art.
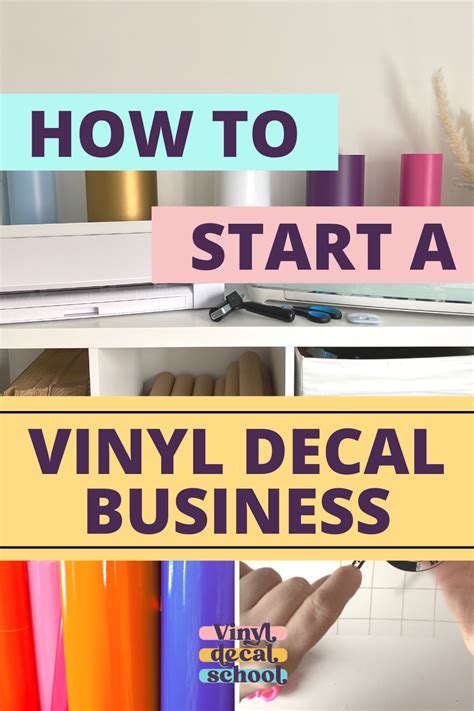
- Small Business Branding: Create custom labels for handmade products, branded packaging, or unique promotional items.
Tips for Personalizing Your Decal Projects
The true beauty of using printable decal paper lies in its ability to bring your unique vision to life. Don't just copy designs – make them your own!
Here’s practical advice on tailoring your messages and designs to be truly unique and heartfelt:
- Infuse Personal Stories: Did you share a funny inside joke with someone? Turn it into a decal for a gift. A special date? Incorporate it. Personal touches elevate your projects.
- Focus on the Recipient/Purpose: Who is this for? What are their hobbies, passions, or favorite colors? Tailor your design to resonate deeply with them.
- Play with Typography: The font you choose speaks volumes. Playful fonts for fun items, elegant scripts for sophisticated gifts, bold sans-serifs for modern statements.
- Layering and Compositing: Don't be afraid to combine elements – photos with text, illustrations with patterns. Software like Canva, Photoshop, or even simple online editors can help you create complex designs.
- Consider the Object's Shape: A cylindrical mug requires a different design approach than a flat phone case. Account for curves and contours in your design process.
- My Subjective Tip: *I find that adding a subtle, textured background to my designs, even a faint one, often makes the decal look more integrated with the object, rather than just "stuck on."* It’s a small detail that makes a big difference.
Common Pitfalls: What to AVOID When Using Printable Decal Paper
Even with the best intentions, mistakes happen. Knowing what not to do with printable decal paper can save you time, money, and frustration. Here's what I've learned from my own "oops" moments:
- Don't Use the Wrong Printer Type: I cannot stress this enough. Inkjet paper in a laser printer (or vice versa) can melt the paper, damage your fuser, and lead to expensive repairs. Always, always check!
- Don't Forget to Seal (Inkjet): This is the cardinal sin of inkjet decal printing. Without sealing, your beautiful design will just run and dissolve the moment it touches water. It's like trying to go swimming in a paper suit.
- Don't Rush the Drying Time: Patience is a virtue in crafting. Smudged ink, peeling decals, or bubbles can often be traced back to not allowing enough time for ink or sealant to dry/cure.
- Don't Over-Saturate Water-Slide Decals: Leaving water-slide paper in water for too long can make the film too fragile and difficult to handle, causing it to tear easily. It only needs to soak until it just starts to slide.
- Don't Apply to Dirty Surfaces: Dust, lint, or oil residue will prevent your decal from adhering properly and can lead to unsightly bubbles or peeling edges.
- Don't Skimp on Quality: Cheap decal paper can lead to frustrating results – poor print quality, tearing, or difficulty adhering. Invest in a reputable brand; it pays off in the long run.
- Don't Be Afraid to Practice: Your first decal might not be perfect, and that's okay! Practice on scrap materials or less important items before tackling your masterpiece. Don't be like me and attempt your most complex design on your last sheet of expensive paper! Learn from your mistakes, laugh them off, and keep creating.
Go Forth and Decal!
There you have it – your comprehensive guide to unlocking the creative potential of printable decal paper. From understanding the different types and mastering your printer settings to flawless application and ensuring long-lasting durability, you now have the knowledge and the confidence to bring your custom visions to life.
Remember, the true joy of crafting comes from the process, the learning, and the unique satisfaction of holding something you’ve transformed with your own hands. Don't be afraid to experiment, make mistakes (they're the best teachers!), and most importantly, have fun. Now, go make that personalized gift, create that unique piece of home decor, or simply express yourself in a way that truly sticks! Your next masterpiece is just a print and a slide away.