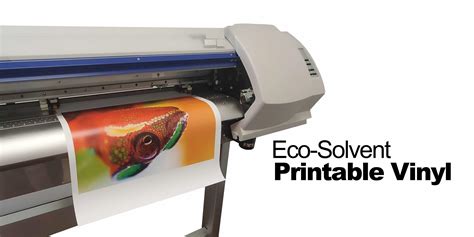
Ever gazed longingly at a custom mug, a unique laptop decal, or perfectly branded product labels and thought, "I wish I could make that at home"? If you've got an inkjet printer sitting there, ready to work its magic, the good news is you absolutely can! The secret? Printable vinyl for inkjet printers. Trust me, I remember the first time I stumbled upon this material; it felt like unlocking a whole new level in my crafting journey. Suddenly, intricate designs and vibrant colors weren't just for professional print shops – they were for my kitchen table. But while the possibilities are endless, navigating the world of printable vinyl can feel a bit like trying to find a hidden boss in a new game without a map. That's where I come in.
This guide is your comprehensive map, whether you're a seasoned crafter looking for advanced inkjet vinyl printing tips or a complete beginner wondering, "What *is* printable vinyl, anyway?" We’ll walk through everything from choosing the right type to mastering your printer settings, ensuring your creations look professional and last for ages. Say goodbye to generic store-bought items and hello to personalized masterpieces!
Understanding Printable Vinyl: The Basics for Your Inkjet Printer
Before we dive into the exciting world of creation, let's get our foundational knowledge solid. What exactly is printable vinyl for inkjet and why should you care?
- It's an Adhesive Material: Think of it like a sticker sheet, but way more versatile and durable. It has a printable surface on one side and an adhesive backing that you peel off to stick to various surfaces.
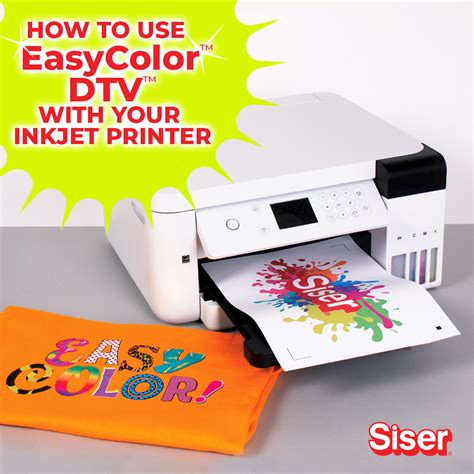
- Designed for Inkjet Printers: This is crucial! You can't just throw any vinyl into your home printer. This specific type is coated to absorb liquid inkjet inks properly, preventing smudging and ensuring crisp images.
- Versatility is Key: From water bottles to car decals, wall art to custom stationery, the applications are vast. It’s a fantastic way to add a personal touch to almost anything. I once used a custom vinyl sticker to repair a favorite gaming headset, and it felt like a total victory!
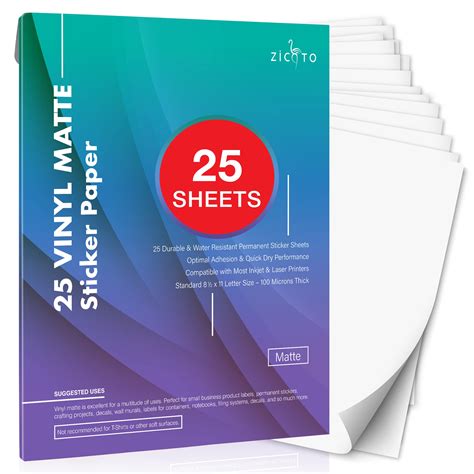
- Types & Finishes: You'll find options like glossy printable vinyl, matte printable vinyl, clear, and even specialized waterproof printable vinyl for inkjet. Each offers a different aesthetic and level of durability.
Choosing the Right Printable Vinyl for Inkjet for Your Project
Selecting the perfect vinyl is like choosing the right character class for a quest – it dictates your success! Here’s what to consider:
- Project Application:
- Outdoor Use/Water Exposure: Go for waterproof printable vinyl for inkjet that’s specifically designed for durability against elements. Lamination is also highly recommended here.
- Indoor Use/Decoration: Standard glossy or matte adhesive vinyl for inkjet usually works wonderfully.
- Labels/Small Decals: Consider thinner vinyls for easier cutting and application.
- Desired Finish:
- Glossy: Offers a vibrant, shiny look, making colors pop. Great for photos and eye-catching designs.
- Matte: Provides a non-reflective, sophisticated look. Ideal for more subdued designs or when you want to avoid glare.
- Clear: Perfect for layering designs or when you want the background surface to show through. Just remember your inkjet white ink won't print, so any white in your design will be transparent.
- Printer Compatibility: While it's all "inkjet," some brands recommend specific settings or have coatings that work better with certain ink types. Always check the product description! I once bought a batch that seemed "off," only to realize it preferred dye inks, not the pigment inks my printer had. Learn from my mistake!
- Brand Reputation & Reviews: Look for trusted brands known for quality and consistency. Best printable vinyl for stickers often comes from brands with good reviews regarding ink absorption and durability.
Prepping Your Printer & Design for Success
This is where the magic happens, but it also where things can go sideways if you're not careful. Precision is your friend!
- Clean Your Printer Heads: A clogged print head is the enemy of a crisp vinyl print. Run a cleaning cycle before you start, especially if it’s been a while.
- Load Vinyl Correctly: Most vinyl has a specific side for printing (usually the smoother, brighter side). Load it according to your printer's manual – often face down in the bottom tray or face up in a rear feed.
- Adjust Printer Settings (Crucial!):
- Paper Type: Select "Glossy Photo Paper," "Matte Photo Paper," or "Specialty Paper" for best results. This tells your printer to lay down more ink and often slows down the print speed for better absorption.
- Print Quality: Always choose "Best" or "High" quality. Never settle for "Draft" or "Normal."
- Color Profile: If your printer allows, ensure it's set to a vibrant color profile.
- Design Considerations:
- Resolution: Use high-resolution images (300 DPI is ideal) to avoid pixelation.
- Bleed & Cut Lines: If you're cutting with a machine (like Cricut or Silhouette), ensure your design has a "bleed" (extra color around the edge) to prevent white borders after cutting. Add clear cut lines for machine recognition.
- Test Print: Always, always, *always* do a small test print on regular paper first to check colors and alignment. This saved me from wasting countless sheets of expensive vinyl!
The Art of Printing & Cutting: Tips for Flawless Results
You've prepped, you've designed, now it's time to bring your vision to life!
- Print One Sheet at a Time: Don't stack a bunch of vinyl in your printer. Feed one sheet at a time to prevent jamming and misfeeds.
- Allow for Drying Time: Inkjet inks are wet! Let your prints dry completely before handling or cutting, usually 10-30 minutes, sometimes longer for heavy ink coverage. This is especially true for waterproof printable vinyl inkjet.
- Lamination is Your Superpower: For ultimate durability, especially for outdoor use or items that will be handled frequently (like water bottles), apply a clear laminate sheet over your printed vinyl. This protects against scratches, UV fading, and moisture. My personal preference is to always laminate; it just makes everything feel so much more professional and long-lasting!
- Cutting Method:
- Scissors/Craft Knife: For simple shapes, careful hand-cutting works.
- Cutting Machine (Cricut, Silhouette): For intricate designs, these machines are game-changers. Ensure your machine is calibrated and you use the correct settings for "printable vinyl" or "sticker paper." Perform a test cut on a small corner of your sheet.
Creative Projects You Can Make (and Sell!)
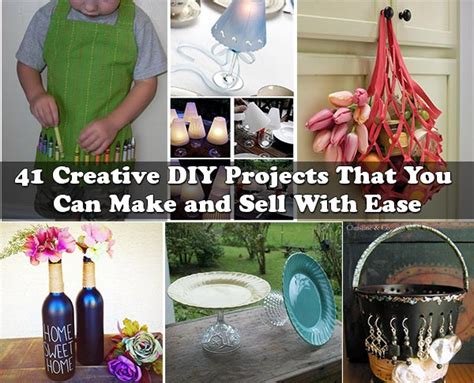
With printable vinyl for inkjet, your crafting possibilities explode. Here are just a few ideas:
- Custom Stickers & Decals: From laptop decals to car stickers, design your own unique expressions. *I used this idea to make custom 'gamer tag' stickers for my friends' keyboards – they loved it!*
- Personalized Water Bottles/Mugs: Create custom drinkware for gifts, branding, or just for fun. Just remember to use laminated, waterproof vinyl!
- Labels for Organization: Make stylish, durable labels for pantry jars, craft supplies, or filing cabinets. A cohesive look for your home organization!
- Kids' Room Decor: Design and print wall decals featuring their favorite characters or inspiring quotes.
- Product Packaging & Branding: Small businesses can create professional-looking labels for handmade soaps, candles, food items, or unique packaging. This is my favorite strategy because it saved me countless times when launching new products; professional labels make all the difference.
- Window Clings: Some printable vinyls can even be used to create removable window clings for seasonal decor or shop signage.
Troubleshooting Common Printable Vinyl Hiccups
Even seasoned crafters run into issues. Here’s how to navigate those common pitfalls:
- Smudged Prints:
- Cause: Ink not drying, wrong paper settings, or touching too soon.
- Fix: Ensure correct "Photo Paper" setting, allow ample drying time, or consider a different brand of vinyl that absorbs ink faster.
- Colors Don't Match Screen:
- Cause: Monitor not calibrated, incorrect printer color profile, or vinyl not absorbing colors as expected.
- Fix: Calibrate your monitor, try different "Photo Paper" settings, or print a color test chart on the vinyl to see how your printer renders colors.
- Vinyl Not Feeding:
- Cause: Too thick, sticky, or dust on the rollers.
- Fix: Clean printer rollers, feed one sheet at a time, or try feeding with a piece of regular paper behind it for grip.
- Vinyl Peeling Off Surface:
- Cause: Surface not clean, vinyl not adhering well, or wrong type of vinyl for the application.
- Fix: Clean the surface thoroughly with alcohol before application, ensure the surface is smooth, and consider adding laminate for extra adhesion and durability. *Don't be like me and apply it to a dusty surface only to have it peel off an hour later – the shame!*
- Cutting Machine Issues (Not Cutting Through/Cutting Too Deep):
- Cause: Incorrect blade depth or pressure settings.
- Fix: Always perform a test cut on a small, inconspicuous area. Adjust blade settings in small increments until you find the sweet spot for your specific vinyl and machine.
Care & Longevity: Making Your Creations Last
You’ve put in the effort, now let’s make sure your creations stand the test of time.
- Laminate, Laminate, Laminate! I can't stress this enough. A clear laminate layer is the ultimate protector against scratches, water damage, and UV fading. It's especially vital for waterproof printable vinyl for inkjet projects.
- Proper Surface Preparation: Before applying your vinyl, ensure the surface is clean, dry, and free of dust, grease, or debris. Alcohol wipes work wonders for non-porous surfaces.
- Gentle Cleaning: If applying to items like mugs or water bottles, hand-washing is always recommended over dishwashers, even with laminated vinyl. The high heat and harsh detergents can break down the adhesive over time.
- Avoid Extreme Conditions: While some vinyl is designed for outdoor use, prolonged exposure to harsh elements (extreme heat, direct sunlight for years) can still take a toll.
- Smooth Application: When applying the vinyl, use a squeegee or a credit card to smooth out any air bubbles and ensure firm adhesion from the center outwards.
Tips for Personalizing Your Printable Vinyl Projects

The true joy of printable vinyl lies in its ability to bring *your* vision to life. Here's how to make your projects truly unique:
- Think Beyond Photos: While photos are great, consider incorporating hand-drawn doodles, inspiring quotes, inside jokes, or even custom illustrations.
- Combine Materials: Don't be afraid to mix printable vinyl with other crafting materials like heat transfer vinyl (HTV) for fabric projects, glitter, or even resin for a truly multi-dimensional look.
- Layering for Depth: For clear vinyl, experiment with layering different elements to create a sense of depth and complexity.
- Consider the Recipient/Purpose: If it's a gift, think about the recipient's hobbies, favorite colors, or a shared memory. For branding, align the design with your brand's aesthetic and message. I find this approach works best for small teams, where personal touches really resonate.
- Embrace Imperfection: Especially when you're starting out, don't strive for absolute perfection. Some of the most charming creations have slight quirks that give them character.
Common Pitfalls: What to AVOID When Using Printable Vinyl
Knowledge is power, especially when it comes to avoiding rookie mistakes!
- Don't Use Regular Paper Settings: As mentioned, this is a surefire way to get blurry, smudged prints. Your inkjet needs to know it's printing on specialty material.
- Don't Rush Drying Time: Patience is a virtue here. Smudged ink is a pain to clean and wastes material.
- Don't Forget to Calibrate Your Cutter: If using a cutting machine, a miscalibrated machine can lead to misaligned cuts, turning your beautiful design into an unusable mess. Do the calibration steps!
- Don't Apply to Textured Surfaces: While some vinyls are more flexible, highly textured surfaces (like brick walls or heavily grooved plastics) will make adhesion difficult and prone to peeling.
- Don't Skimp on Quality: Cheap printable vinyl for inkjet can lead to frustration – poor ink absorption, weak adhesive, or quick fading. Invest a little more for a much better experience and longer-lasting results. You don't want to get caught unprepared, like when you forget your health potions before a big boss fight!
- Don't Store Improperly: Keep unused vinyl flat, in its original packaging, and away from extreme temperatures or humidity to prevent curling or adhesive degradation.
There you have it! Your comprehensive guide to mastering printable vinyl for inkjet. It’s an incredibly rewarding material that unlocks a world of personalized projects, whether you're decorating your home, creating unique gifts, or even starting a small business. Now go forth and create something amazing – you’ve got this!