Oh, the joy of origami! There's something truly meditative about transforming a flat sheet of paper into a magnificent, three-dimensional creation. But if you're anything like me, you've probably faced that moment of creative frustration: you have the perfect design in mind, but no paper to match. Perhaps you need a specific galaxy print for an intricate modular star, or a delicate floral pattern for a crane, and your local craft store simply doesn't have it. I remember my early origami days, desperately searching for specific colors or unique patterns for a complex kusudama ball. Local craft stores often fell short, leaving me to compromise or abandon a project. That's when I stumbled upon the magic of printable origami paper, and trust me, it changed everything.
This isn't just about saving a trip to the store; it's about unlocking an entire universe of possibilities. From bespoke designs to cost-effective solutions for large projects, printable origami paper is a game-changer for enthusiasts of all levels. Whether you're a seasoned folder looking for ultimate customization or a curious beginner eager to experiment without breaking the bank, this guide is packed with everything you need to know. We’ll dive deep into making your origami dreams a reality, one perfectly printed sheet at a time.
---
Why Go Printable? The Freedom You Didn't Know You Needed

Why bother printing your own origami paper when you can buy pre-cut packs? It boils down to unparalleled freedom and flexibility. Think about it:
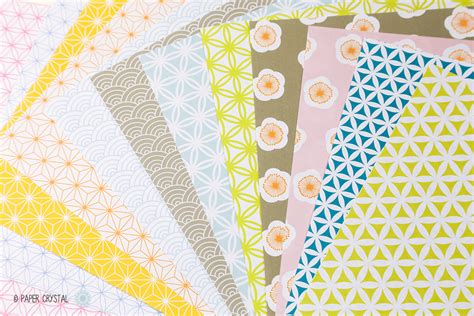
- Endless Designs: Want paper that looks like antique maps, shimmering dragon scales, or even your pet's face? You can find or create it! This is where the magic truly happens, allowing you to match your paper perfectly to your origami creation.
- Custom Sizing: Most store-bought paper comes in standard squares. What if you need a tiny 3-inch square for a miniature, or a massive 20-inch sheet for an exhibition piece? Printing lets you choose the exact dimensions.
- Cost-Effective for Bulk: If you're tackling a project that requires dozens or hundreds of sheets (like a modular polyhedron), printing your own can be significantly cheaper than buying specialized packs.
- Personal Touch: There’s an undeniable satisfaction in knowing every aspect of your creation, right down to the paper, is uniquely yours. It adds another layer of craftsmanship.
Choosing Your Canvas: Best Paper Types for Printable Origami
The foundation of any great origami piece is the paper itself. For printable origami paper, the type you choose will significantly impact your folding experience and the final look.
- Standard Printer Paper (60-80 GSM): While readily available, this is generally too thin and flimsy for anything but the simplest models. It tears easily and doesn't hold creases well. Think of it as a practice sheet.
- Heavier Printer Paper/Cardstock (90-120 GSM): This is often your sweet spot for a good balance of durability and foldability. It holds creases well and can handle more intricate folds without tearing. This is my go-to for most general-purpose origami.
- Specialty Papers (Matte Photo Paper, Presentation Paper - 120-170 GSM): For vibrant colors, crisp lines, and a luxurious feel, matte photo or presentation paper is excellent. It's often thicker, so it might be challenging for very small or highly intricate models, but fantastic for larger, showpiece folds. I find that matte paper gives the most satisfying, non-reflective finish to my finished pieces, making them look very professional.
- Textured Paper: While harder to print on evenly, some lighter textured papers can add a unique tactile dimension to your origami. Just be sure your printer can handle the texture without smudging.
Pro-Tip on GSM (Grams per Square Meter): This is the paper's weight and thickness. Lower GSM is thinner, higher GSM is thicker. Experiment to find what works best for your specific model – an intricate crane needs thinner paper than a robust origami box.
Printing Perfection: Tips for Crisp, Clean Folds
You’ve chosen your design and your paper. Now, let’s talk about the printer settings, which are crucial for getting high-quality printable origami paper.
- Printer Settings are Key: Don't just hit 'print'! Always select "Best Quality" or "High Quality" in your printer settings. Also, specify the correct paper type (e.g., "Matte Photo Paper," "Heavyweight Paper") so your printer adjusts ink saturation and drying time accordingly.
- Ink Type: For best results that won't bleed when folded or get handled, pigment-based inks are generally more water-resistant and vibrant than dye-based inks. If your printer uses dye-based inks, just be mindful of humidity and handling.
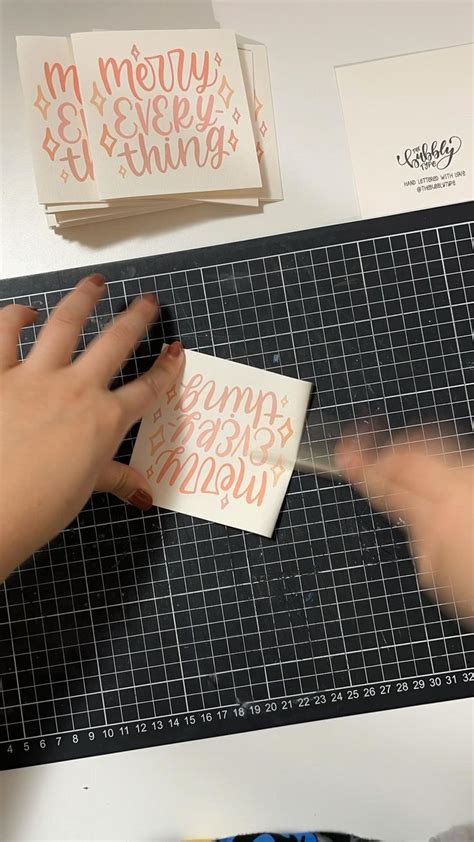
- Test Prints: Always do a test print on a scrap piece of the same paper. This helps you check for color accuracy, alignment, and ink bleeding before committing to your final sheet. It's like a dress rehearsal for your paper!
- Drying Time: Allow printed sheets to dry completely before folding, especially if using a high ink saturation design or glossy paper. Smudged ink is the bane of an origamist’s existence. Don't be that person with streaky prints, looking like your masterpiece went for a swim!
Unleashing Your Inner Designer: Where to Find & Create Patterns
The beauty of printable origami paper lies in the endless possibilities for design.
- Free Online Templates: Websites like Pinterest, DeviantArt, and various origami blogs offer a treasure trove of free downloadable patterns, from geometric designs to whimsical illustrations. Search for "printable origami paper patterns free" to get started.
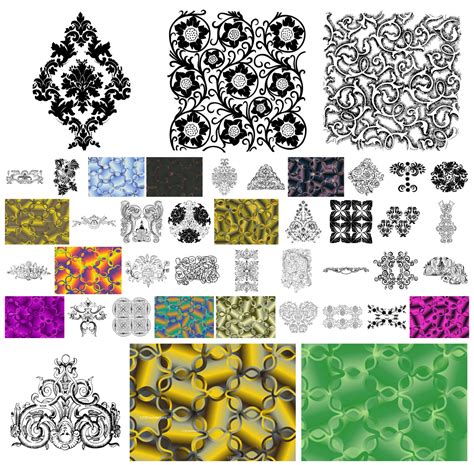
- Stock Image Sites: For more professional or unique textures (think marble, wood grain, or abstract art), explore stock image websites (some offer free options with attribution, others are paid).
- Create Your Own: This is where you truly become a paper artist!
- Digital Design Software: Use programs like Adobe Photoshop, Illustrator, GIMP (free), or even Canva to create your own patterns. You can combine textures, add personal photos, or design abstract gradients.
- Scan Your Art: Have a watercolor painting you love? Or a unique fabric pattern? Scan it at a high resolution and print it onto your origami paper!
- Photography: Print your own stunning landscape photos or close-ups of natural textures to bring a truly unique element to your folds.
I once needed a very specific galaxy print for an origami star, and finding one that matched my vision was impossible. So, I found a high-resolution galaxy image online, adjusted its colors in a simple photo editor, and printed it myself. The result was breathtaking and perfectly unique!
Troubleshooting & Pro Tips: Avoiding Common Printable Pitfalls

Even with the best intentions, things can sometimes go awry. Here’s what I learned the hard way (so you don't have to!).
- Ink Bleed/Feathering: This usually means your paper is too absorbent or you’re using too much ink. Try a heavier paper with a smoother finish or adjust your printer settings to a lower saturation.
- Tearing During Folds: Your paper is likely too thin or too brittle. I once tried to print a gorgeous intricate pattern on standard 80gsm printer paper, only to have it tear mid-fold, ruining a solid hour of work. Learn from my pain: paper weight matters! Increase your paper's GSM, or choose a paper designed for photographic prints, which tends to be stronger.
- Fading Colors: Store your finished origami pieces away from direct sunlight, especially if using dye-based inks, which are more prone to fading over time.
- Double-Sided Printing: This is the ultimate challenge! If your printer supports it, ensure your design is aligned perfectly for both sides. If not, print one side, let it dry *completely*, then manually feed it back into the printer for the second side. Practice makes perfect here.
- Calibrate Your Monitor: What you see on screen isn't always what you get on paper. Calibrating your monitor can help ensure color accuracy between your digital design and your physical print.
Beyond the Square: Creative Uses for Your Printable Masterpieces
Your printable origami paper isn't just for classic cranes! Here are a few ideas to spark your imagination:
- Themed Decorations: Create custom origami decorations for parties, holidays, or events. Imagine origami cherry blossoms for a spring party or ghostly bats for Halloween, all with perfectly matched paper.
- Personalized Gifts: Fold unique origami gifts for friends and family using paper printed with their favorite colors, patterns, or even inside jokes. A custom origami bookmark? A photo-folded frame? The possibilities are endless.
- Modular Origami: This technique, where multiple identical units are folded and then interlocked, truly shines with custom paper. You can print unique patterns for each module, creating stunning, complex designs that are impossible with store-bought paper.
- Scrapbooking & Card Making: Don’t limit yourself to folding! Use your custom printed sheets for unique backgrounds, cut-outs, or embellishments in other paper crafts.
---
And there you have it – your comprehensive guide to diving into the wonderfully versatile world of printable origami paper. This isn't just about crafting; it's about expression, about making something truly your own, from the very first fiber of paper to the final delicate crease. So, fire up your printer, unleash your inner designer, and get ready to fold without limits. Now go make some paper magic!