Ever wished you could reach into your screen and pull out that perfect diamond pickaxe, a majestic castle block by block, or your trusty wolf companion? For millions of Minecraft enthusiasts, the game isn't just a pastime; it's a creative outlet, a world of endless possibilities. And for us makers, there’s an irresistible urge to bridge that digital divide, to turn virtual voxels into tangible objects. I remember the first time I saw a 3D printed Creeper – it was like magic, a piece of my favorite game brought into my living room! That spark ignited a passion, and trust me, getting into 3d printable Minecraft projects is one of the most rewarding journeys you can embark on.
Whether you're a seasoned crafter with a farm of 3D printers or someone just starting to explore the exciting world of additive manufacturing, this guide is for you. We’re going to dive deep into how you can transform your digital builds, favorite mobs, and iconic items into real-world creations. Get ready to level up your crafting game from screen to tangible, blocky brilliance!
---
1. Replicating Your Master Builds: Structures and Landscapes
There's something incredibly satisfying about turning your sprawling in-game mansion or epic redstone contraption into a physical model. These aren't just prints; they're memories and achievements you can hold.
- The Miniature Masterpiece: Imagine your entire base, scaled down to fit on your desk! This requires patience and often multiple prints, but the result is breathtaking. I tried printing my colossal treehouse once, and while it took a week, seeing the intricate details emerge was totally worth it.
- Segmented Castle Sections: For truly massive builds, break them down. Print sections of your castle walls, towers, or courtyards, then assemble them. This is excellent for beginners, allowing you to learn as you go.
- Terrain Tiles: Create modular terrain tiles representing different biomes (forest, desert, tundra). These can be combined to form custom dioramas.
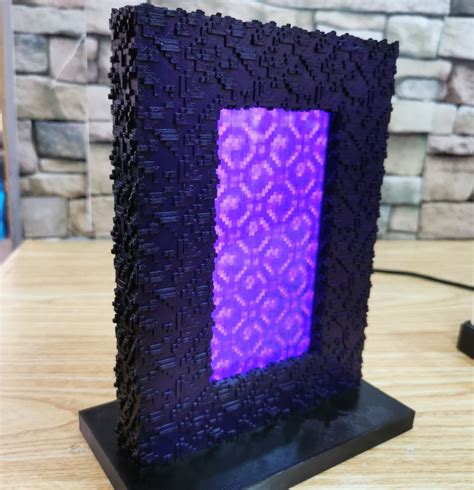
- Iconic Landmarks: Think a miniature End Portal, a Nether Fortress bridge, or a towering village church. These are often complex but incredibly rewarding.
- Redstone Contraption Displays: Print the external shell of your favorite redstone builds – piston doors, automatic farms – as non-functional display pieces.
- Chunk Models: Print an entire "chunk" (16x16 blocks) of your world to capture a specific moment or area. This is a great way to immortalize a favorite spot.
- Skyblock Islands: A floating island with a single tree and a chest – a perfect, contained print that captures the essence of survival.
- Underwater Temples: The unique block patterns of ocean monuments translate beautifully into physical models, especially with transparent filament.
- Villager Houses: Simple, iconic, and perfect for testing your printer's ability to handle small details.
- Custom Statues: If you've built an enormous pixel art statue of a Creeper or Steve in-game, you can often extract and print it.
2. Character & Mob Mania: Bringing Life to Your Desk
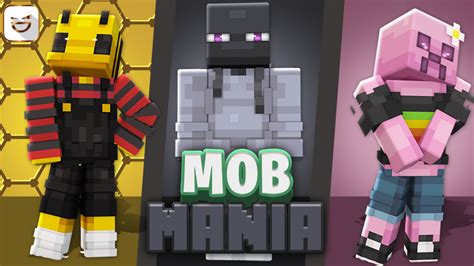
From the iconic Steve to the terrifying Warden, Minecraft's characters and creatures are instantly recognizable. These make fantastic standalone figures or additions to dioramas.
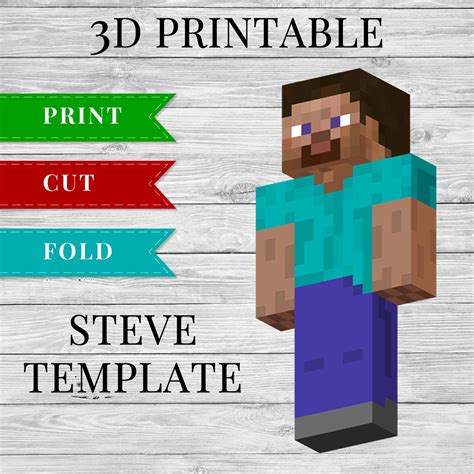
- The Classic Steve/Alex: These are often the first prints people attempt. Their blocky nature is perfect for 3d printable Minecraft beginners.
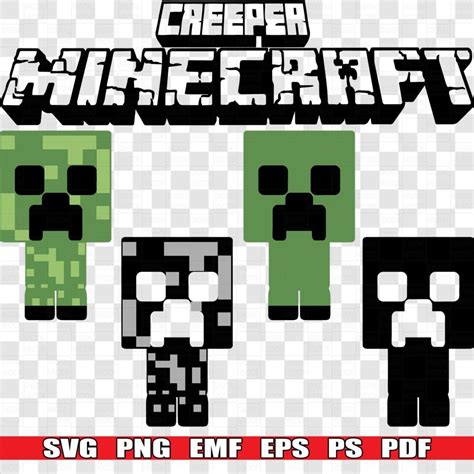
- Fear the Creeper: Every fan needs a Creeper! Experiment with different greens and even glow-in-the-dark filament for an extra spooky effect. I once printed a giant one and hid it in my brother's room – he almost screamed.
- Friendly Mobs: Pigs, Cows, Sheep, and Chickens are adorable and relatively easy to print. They add charm to any display.
- Undead Hoard: Skeletons, Zombies, and Husks offer more intricate details like bones and tattered clothing, making for satisfying challenges.
- Enderman & Ghast: These tall, eerie figures or floating, fire-balling beasts are fantastic for advanced users, especially the Ghast with its delicate tentacles.
- The Mighty Dragon: Printing the Ender Dragon is the ultimate challenge and a true centerpiece for any Minecraft collection.
- Axolotl & Glow Squid: For newer fans, these charming aquatic mobs are great, often requiring vibrant colors.
- Warden: The terrifying new mob from the Deep Dark makes for an imposing and detailed print, capturing its unique bioluminescence with careful painting.
- Custom Player Skins: Many tools allow you to convert your unique player skin into a 3D model, making for a truly personal collectible. I love having my custom skin staring back at me from my shelf.
- Armored Stands: Print empty armor stands to display miniature armor sets you can also print!
3. Tool & Item Replicas: Practicality Meets Pixelation
Why just admire them when you can wield them (or at least, a replica)? Iconic tools and items are perfect for display, cosplay, or just plain fun.
- Diamond Pickaxe: The ultimate symbol of mining prowess. Print it in a vibrant blue filament. This is my go-to "fidget toy" when I'm brainstorming.
- Minecraft Sword: From wood to netherite, these make great costume props or decorative pieces.
- Crafting Table: A miniature crafting table is a super useful print – it can double as a coaster or a small organizer.
- Torches: Print them with a translucent yellow or orange top, and you can even insert an LED tea light for a glowing effect!
- Storage Chests: Miniature chests are fantastic for storing small desk items or dice.
- Enchanted Books: Print an open enchanted book with a placeholder for a small note or picture.
- Potion Bottles: Use clear or colored translucent filament to mimic the different potion effects.
- TNT Blocks: A classic. Just make sure it’s clearly labeled "FOR DISPLAY ONLY" – we don't need any real-world explosions!
- Ender Pearls: A simple sphere, but with the right iridescent filament, it looks truly magical.
- Banners & Shields: Print custom designs onto flat or curved surfaces to replicate in-game banners and shields.
4. Practical Minecraft Prints: Functionality in a Blocky World
Beyond display pieces, 3d printable Minecraft creations can serve real-world purposes, blending utility with your passion for the game.
- Minecraft Themed Coasters: Protect your table from spills with Creeper or pixelated block coasters.
- Pen Holders: A block of dirt, a crafting table, or even a hollowed-out Creeper head can hold your pens and pencils.
- Keychains: Small pickaxes, swords, or Creeper faces make great keychains.
- Bookends: Large, heavy blocks (like obsidian or bedrock) can be printed to hold your books upright.
- Desk Organizers: Print block-shaped compartments for paperclips, sticky notes, or charging cables.
- Plant Pots: A square "grass block" planter can add a touch of Minecraft to your greenery.
- Dice Towers: Design and print a miniature castle or tower that funnels dice for your tabletop games.
- Switch Cartridge Holders: Create small storage boxes designed to look like Minecraft blocks that fit your game cartridges.
- Cable Organizers: Use block-shaped clips or ties to manage unruly cables behind your desk.
- Light Switch Covers: Replace your plain light switch plate with one featuring your favorite Minecraft elements.
5. Beyond the Basics: Advanced Customization & File Management
Once you've mastered the basics, you'll want to explore the deeper world of creating and optimizing your own 3d printable Minecraft models.
- Exporting Your Own Builds: Did you know you can export your in-game creations? Tools like Mineways (for Java Edition) can convert your world selections into `.obj` or `.stl` files, ready for a 3D printer. This is how I got the file for my giant treehouse!
- Voxel Art & CAD Software: For truly unique designs, delve into voxel art software like MagicaVoxel or more traditional CAD programs like Blender. You can build from scratch or modify existing models.
- Remixing Existing Models: Found a great model but want to tweak it? Learn to use slicing software like Cura or PrusaSlicer to modify scale, add supports, or even combine elements from different models.
- Multi-Color Printing: If you have a multi-material printer, explore printing models with different colors for each block type or detail. This significantly elevates the final product.
- Post-Processing & Painting: Even if you print in a single color, painting your models can bring them to life. Learn about priming, acrylic paints, and sealing for a professional finish.
- Optimizing for Printing: Understanding overhangs, supports, infill, and layer height is crucial for successful prints. Sometimes, rotating a model just slightly can make all the difference.
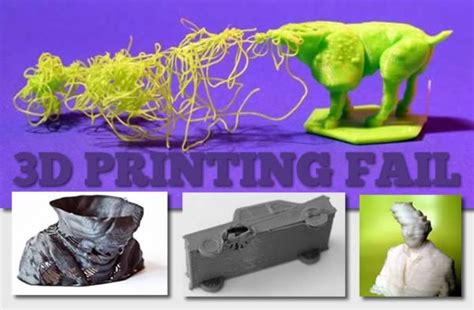
- Troubleshooting Common Issues: Learn to diagnose issues like stringing, warping, layer shifts, and clogged nozzles. Patience is key!
- Community Resources: Sites like Thingiverse, Printables, and MyMiniFactory are goldmines for free 3d printable Minecraft models. Join forums and Discord groups for tips and inspiration.
---
Tips for Personalizing Your Minecraft Prints
Making your 3D prints unique goes beyond just hitting "print." It’s about infusing them with your own Minecraft journey.
1. Recall Specific Game Moments: Instead of just printing a plain sword, print *your* diamond sword, the one that saved you from a horde of zombies in that epic battle. Add a subtle detail or a unique base to represent that moment.
2. Match Your Player Skin: As mentioned, many tools allow you to convert your custom player skin. This is the ultimate personalization.
3. Incorporate Shared Memories: If you're printing something for a friend who plays Minecraft, think about an inside joke or a memorable build you shared. Maybe it's a small detail on a mob, like a specific dyed sheep.
4. Experiment with Filaments: Don't just stick to basic PLA. Try wood-fill for rustic builds, silk PLA for shiny diamonds, or translucent for potions and glass blocks. I personally find matte black filament to be fantastic for bedrock or obsidian, giving it a truly ominous feel.
5. Post-Print Customization: Painting, weathering, or even adding small accessories (like a tiny pickaxe for your Steve figure) can make a generic print truly yours.
6. Add Your Gamertag/Signature: For truly special pieces, subtly engrave or print your gamertag or initials somewhere on the base or an inconspicuous part of the model.
Common Pitfalls: What to AVOID When 3D Printing Minecraft Models
Even seasoned crafters make mistakes. Here’s what I learned the hard way (so you don't have to!).
1. Forgetting Scale: Minecraft blocks are cubes, but you need to decide what real-world size a "block" translates to. Don't be like me and accidentally print a pickaxe the size of your finger when you wanted a life-sized one! Always double-check your dimensions in your slicing software.
2. Ignoring Supports: While Minecraft’s blocky nature often minimizes overhangs, complex shapes (like a Ghast or detailed player skins) will absolutely need supports. Skipping them results in spaghetti messes and failed prints.
3. Not Calibrating Your Printer: Before attempting a big, complex Minecraft build, run some calibration tests (e.g., a "benchy" boat or calibration cube). A perfectly tuned printer saves you hours of frustration later.
4. Using Low-Quality Filament: Cheap filament often leads to clogs, inconsistent extrusion, and brittle prints. Invest in decent quality; your sanity (and your prints) will thank you.
5. Printing Too Fast: While tempting, printing too quickly can compromise print quality, leading to rough surfaces, poor layer adhesion, and missed details, especially on intricate 3d printable Minecraft models. Slow and steady wins the race.
6. Underestimating Print Time: Large, detailed Minecraft structures can take *days* to print. Plan accordingly and don't start a 40-hour print an hour before you need to leave for a trip!
7. Over-Complicating Initial Projects: Start simple! A single block, a Creeper, or a simple pickaxe. Don't try to print a 1:1 scale replica of your entire world as your first project. Build up your skills.
---
Conclusion
Diving into the world of 3d printable Minecraft is an incredibly rewarding experience. It's more than just printing plastic; it's about transforming your digital passion into tangible reality, flexing your creative muscles, and learning valuable skills along the way. From miniature castles that grace your desk to pixelated pickaxes that feel satisfyingly real, the possibilities are as endless as the blocks in Minecraft itself. So, fire up your printer, load your filament, and get ready to bring your blocky adventures to life. Now go forth and create something awesome – your world awaits!