
Ever stood in the yarn aisle, mesmerized by all the colors, but felt a pang of intimidation? Or perhaps you’ve tried crochet before, tangled yourself in a chain of frustration, and tucked away your hook for “another day”? Trust me, I’ve been there. My first attempt at a granny square looked more like a wonky hexagon, and my "straight" rows resembled a rollercoaster. But what changed everything for me was having a clear, concise, and most importantly, *printable* guide right by my side. No more frantic Googling mid-stitch!
This isn't just about learning stitches; it's about building confidence, finding your creative flow, and discovering the joy of making something beautiful with your own hands. We’re going to walk through the absolute essentials, some common beginner blunders (because we all make them!), and how to make this wonderful craft truly yours. Get ready to transform that yarn into magic – with a little help from your new best friend, a comprehensive beginner printable crochet stitch guide.
Why a Printable Guide is Your Crochet Superpower
We live in a digital world, but there's something incredibly reassuring about a physical guide you can highlight, scribble notes on, and yes, even get a little bit of yarn fluff on! This section highlights why having a tangible, printable resource is a game-changer for new crocheters.
- Always There, No Wi-Fi Needed: Imagine you're on a long flight, at a cozy cabin in the woods, or simply in a quiet corner of your home where the Wi-Fi signal is weaker than your resolve to learn. Your printable guide is always there, ready when you are. I once tried to follow a YouTube tutorial on a beach, and the glare on my phone made it impossible – that’s when I learned the hard way how valuable an offline guide is!
- Hands-Free Learning: Trying to hold your phone and your yarn and your hook all at once? It’s a recipe for dropped stitches (and maybe your phone!). A printed guide can lie flat beside you, allowing you to focus purely on your technique.
- Personalization & Notes: This is *your* guide. Jot down tips, note how your tension feels, mark your favorite variations. Veterans can use this strategy to maximize results by adding their own pattern notes directly onto the guide for quick reference.
- A Tangible Sense of Progress: As you master each stitch and refer back to your guide, you'll see a visual representation of your learning journey. It’s incredibly motivating!
Essential First Stitches: Your Foundation for Success
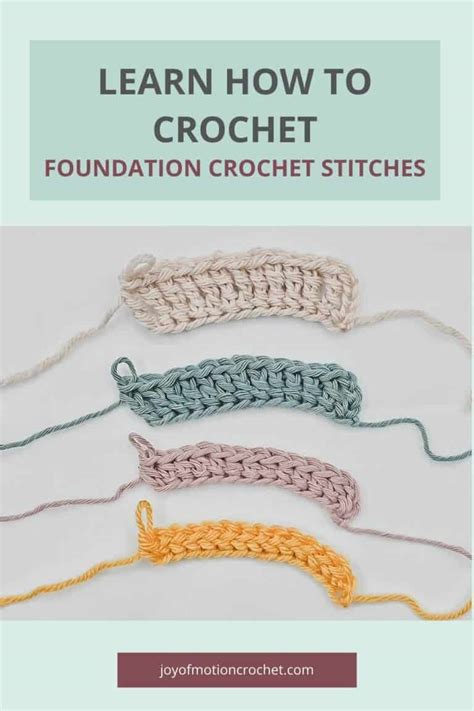
Every beautiful crochet piece begins with these fundamental stitches. Don't worry about perfection; focus on consistency and understanding the mechanics. These are the building blocks.
- The Slip Knot & Chain Stitch (Ch): This is where it all begins! Your slip knot secures the yarn to your hook, and the chain stitch forms your foundation row. *Personal scenario: My very first chain stitch was so tight, I couldn't get my hook back into it! Take a deep breath and keep your tension loose here.*
- Single Crochet (Sc): Often the first "real" stitch learned, the single crochet is compact and creates a dense fabric. It’s perfect for washcloths and amigurumi.
- Half Double Crochet (Hdc): A bit taller than the single crochet, the half double crochet offers a lovely texture and works up faster. It’s a great versatile stitch for scarves.
- Double Crochet (Dc): One of the most popular stitches, the double crochet creates a looser, taller fabric. It's fantastic for blankets and wearables. *I used this for my first wearable – a slightly-too-long scarf – and felt like a true artist!*
- Treble/Triple Crochet (Tr/Tc): The tallest of the basic stitches, the treble crochet works up very quickly and creates an airy, open fabric. Great for lacier projects.
- Slip Stitch (Sl St): Primarily used for joining rounds, moving across stitches without adding height, or finishing off a project. It’s a small but mighty stitch!
Building Blocks for Projects: Joining & Shaping
Once you’ve got the basics down, these techniques will open up a world of possibilities for shaping and connecting your work.
- Joining Yarn: Learning how to seamlessly add a new ball of yarn is crucial for larger projects. There are several methods, like the magic knot or weaving in tails, and your beginner printable crochet stitch guide should show at least one.
- Working in Rounds: Many projects, like hats, amigurumi, and granny squares, are worked in rounds. This often starts with a magic ring or chaining and joining. *I remember struggling with the magic ring for days until one tutorial finally clicked, and then it felt like true magic!*
- Increasing & Decreasing (Inc & Dec): These techniques allow you to shape your crochet fabric, whether you’re making a sphere for a stuffed animal or shaping a garment. Increasing adds stitches, decreasing removes them.
- Reading Crochet Patterns & Schematics: Your guide should introduce common abbreviations (like "ch" for chain, "sc" for single crochet) and explain how to follow written instructions or visual stitch diagrams (schematics).
- Gauge Swatches: This often-skipped step is vital for ensuring your project turns out the right size. Your beginner printable crochet stitch guide should explain why. *Don’t be like me and skip this for a sweater, only to end up with a blanket for a guinea pig!*
Beyond the Basics: Textured Stitches & Finishing Touches
Ready to add a little flair? These stitches and techniques add depth, interest, and a professional finish to your creations.
- Front Post/Back Post Stitches (FpDc/BpDc): Used to create ribbed textures, perfect for hat brims or sweater cuffs. They pop out from the fabric, giving a beautiful dimension.
- Puff Stitch / Bobble Stitch: These stitches create wonderful bumps and textures, ideal for cozy blankets or playful accents.
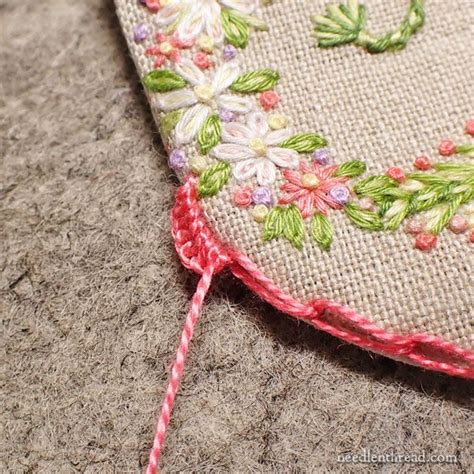
- Shell Stitch: A decorative stitch made from multiple stitches worked into the same space, creating a lovely scalloped edge or a lacy fabric.
- Weaving in Ends: The less glamorous but absolutely essential step! Learning to properly weave in your yarn tails ensures your project looks neat and won't unravel. *My favorite strategy is weaving them in horizontally and vertically – it saved me countless times from unraveling projects!*
- Blocking: This finishing technique can dramatically improve the drape and shape of your crocheted items, especially lace or garments. It's like ironing for crochet!
Tips for Personalizing Your Crochet Practice & Guide
Crochet is a journey, not a race. Make it your own!
- Start Simple, Dream Big: Begin with small, achievable projects like washcloths or scarves. Don't be afraid to try that complex blanket pattern later, but master the basics first.
- Find Your Hook & Yarn "Sweet Spot": Experiment with different hook materials (metal, wood, ergonomic) and yarn weights/fibers. What feels comfortable for one person might not for another. I find that a wooden hook works best for me with acrylic yarn, but that's just my personal preference!
- Embrace Mistakes: Every dropped stitch, every crooked row, is a learning opportunity. Think of them as design elements or "character." Seriously, no one is perfect!
- Watch, Read, Do: Use your beginner printable crochet stitch guide as your anchor, but supplement with video tutorials and different written patterns. Sometimes seeing it done from another angle just clicks.
- Join a Community: Online forums, local groups, or even just sharing your progress with friends can be incredibly motivating and supportive.
Common Pitfalls: What to AVOID When Learning Crochet
We've all been there! Learning from these common mistakes can save you a lot of frustration.
- "Death Grip" Tension: Holding your yarn or hook too tightly will lead to stiff, unworkable fabric and sore hands. Relax! Your stitches should be snug, but not impossible to work into.
- Skipping the Swatch: As mentioned, neglecting to make a gauge swatch before a project can lead to items that are too big, too small, or simply don't have the intended drape. Don’t be like me and spend 20 hours on a blanket only to realize it's crib-sized!
- Not Counting Stitches: Especially in the beginning, it's easy to accidentally add or skip stitches, leading to wonky edges. Count your stitches at the end of every row (or every few rows) until it becomes second nature.
- Ignoring Ergonomics: Pay attention to your posture and take breaks. Repetitive strain injuries are real! Stretch your hands and wrists regularly.
- Being Afraid to Undo (Frog): "Frogging" (ripping out stitches, because "rip-it, rip-it" sounds like a frog) is a natural part of crochet. It’s better to frog a section than to continue with a mistake that will bother you later. Don't be afraid to undo!
Conclusion: Your Crochet Adventure Begins Now!
Congratulations! You’re now armed with the knowledge and the resources to embark on your incredible crochet journey. Remember, that beginner printable crochet stitch guide isn’t just a piece of paper; it’s your roadmap to creating cozy blankets, adorable amigurumi, stylish scarves, and so much more. The world of yarn is vast and welcoming, and you’re now a part of it.
So grab your hook, pick out that first skein of yarn, and let your creativity flow. Every stitch is a step forward, and every finished piece is a testament to your growing skill and patience. Now go make something beautiful – and don't forget to show it off!